 |
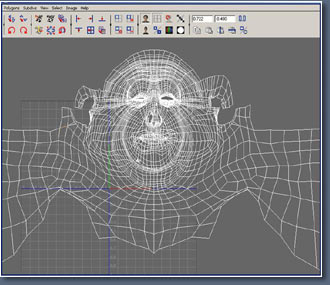
I've merged
2 parts of the map together.
|
|
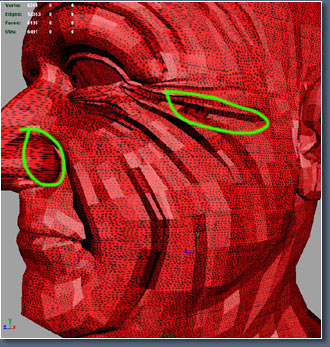 |
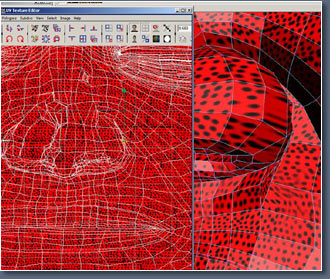
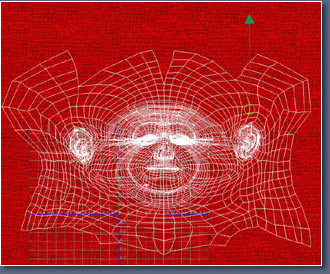
Now I use a large texture
which is just loads of spots I use this to see where their
are problems with stretching on the map. You can see that
most of the map is OK I've picked out a few areas that
need tweaking.
You can download my spot
texture here,
642k
|
|
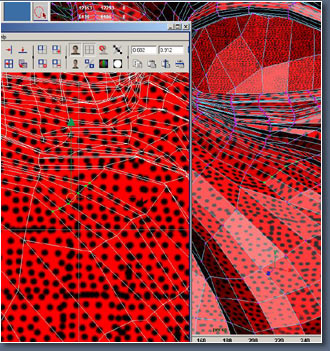 |
Now looking
at the model I go round tweaking and moving uvs, its
well worth spending a few hours checking and tweaking
the map, because the textures and the final head will
look better.
|
|
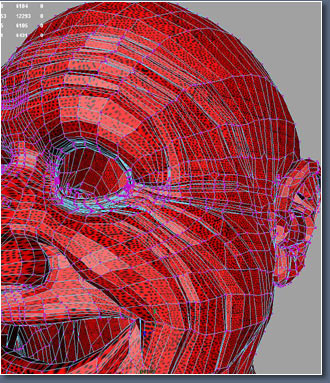 |
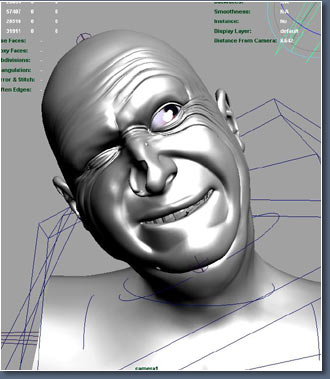
I've connected
a few blend shapes to see if I can spot any major stretching
in different poses.
|
|
 |
Tweaking the
nose area.
|
|
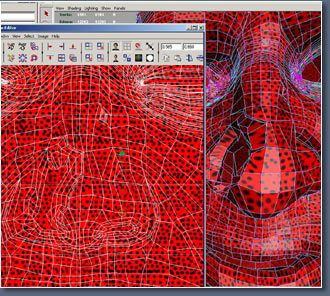 |
Area much cleaner
now.
|
|
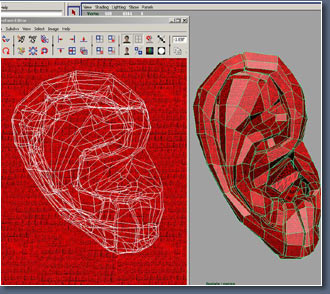 |
Now for the
ears. Again you can probably get away with how it is
now but I like a good UV map, so I spend some time tweaking
and moving the uvs.
|
|
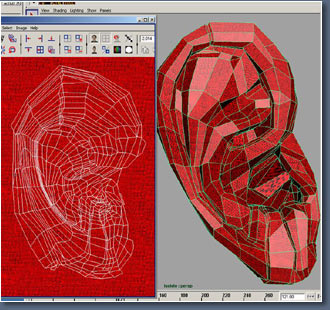 |
Here it is
after tweaking.
|
|
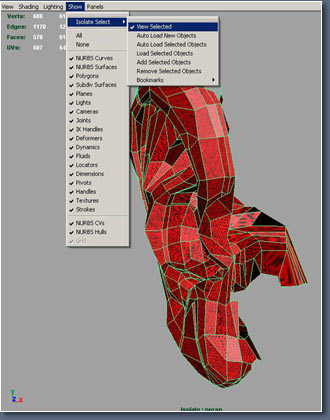 |
Isolating an
area can be useful. Just select parts of the model you
want then choose view selected from the menu above.
|
|
 |
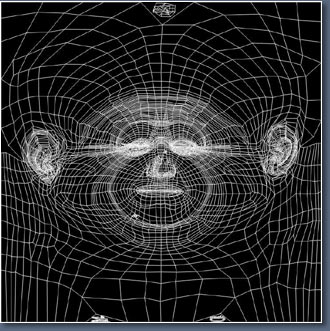
Here's the
map so far, I've put the ears back in place.
|
|
 |
Here's the
final map finished. I managed to find a few areas where
I could squeeze the back part of the lips and back of
the nose. now you can use the polygon transfer tool
to transfer the UV map back on to your base head.
|
|
|
|
 |
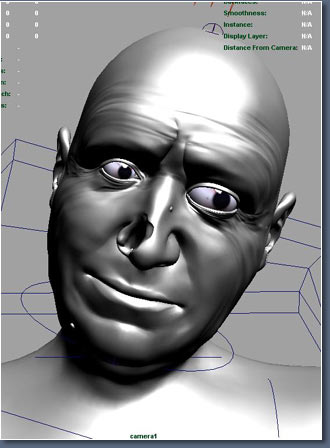
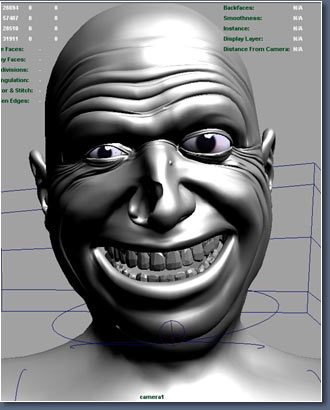
A few facial
poses. still could do with a little tweaking.
|
|
|
|
|
|
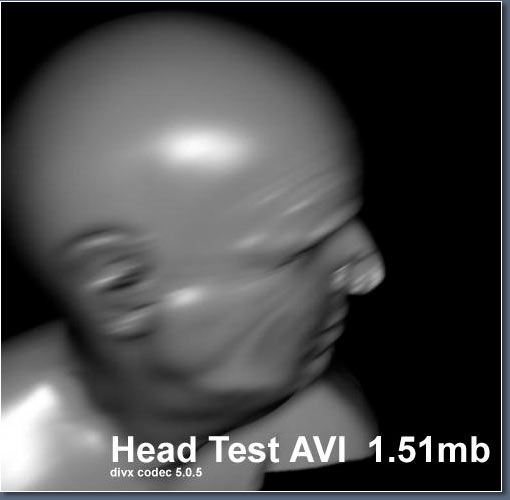
Well that's it, I'm afraid. I hope you didn't
find it to boring and you found the base meshes useful.
Here's a Final Maya scene of the Head with
Animation MadAm.rar
|
| |
|
|