 |
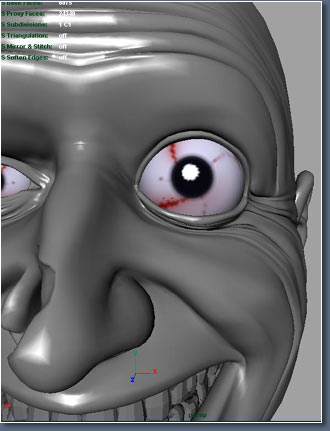
I changed the
eye over to the other side, I could not decide whether
to have the missing piece of nose and large eye on same
side, in the end I've gone for the nose on the left
and eye on the right.
|
|
 |
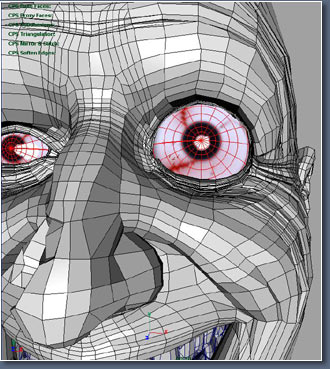
I used the
sculpt polygon tool a little on eye above, but does
not look very good.
|
|
 |
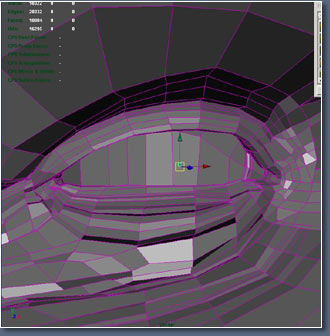
For closing
eyes and deforming areas clusters are a very useful
tool.
|
|
|
|
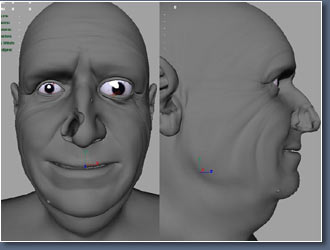 |
Once I was
happy with my head I duplicated it keeping the original
pose and I've made a blank pose deforming the areas
like the cheek and fore head I uses clusters. Areas
could be smoothed some more using the sculpt polygon
tool. I will be using this blank pose for the UV mapping
the areas that are nicely stretched out. Anyone looking
for a good uvmapping tut in Maya I suggest this
one , its probably the best one I have seen.
|
|
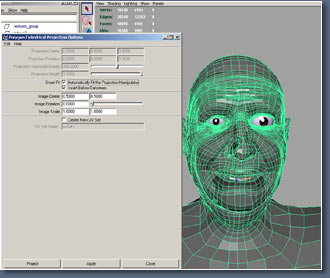 |
First I will
be doing a cylindrical projection on the head.
|
|
 |
Here's the
result you could probably get away with using just that,
but there will be stretching of the textures in quite
a few areas.
|
|
 |
Selected the
areas below the chin for another cylindrical projection.
|
|
 |
Now I've copied
the head again and I've modeled the eyes half shut and
tweaked the forehead then did another cylindrical projection
on just the top part of the head.
|
|
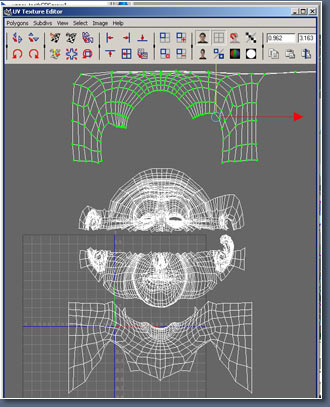 |
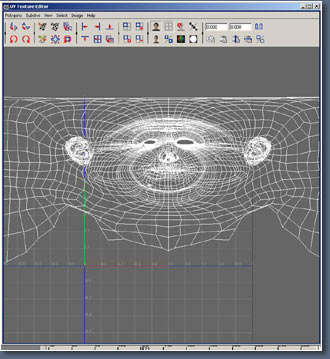
Here's my map
so far.
|
|
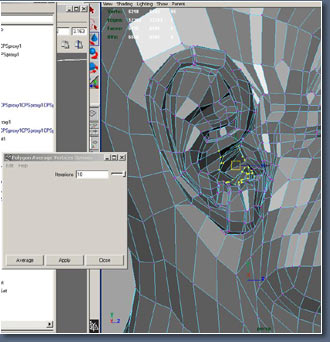 |
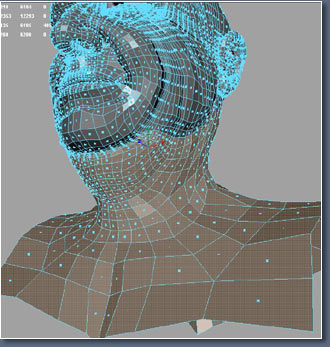
Now the ear
is always a bit tricky. Select the awkward areas inside
the ear, then use the average vertices tool.
|
|
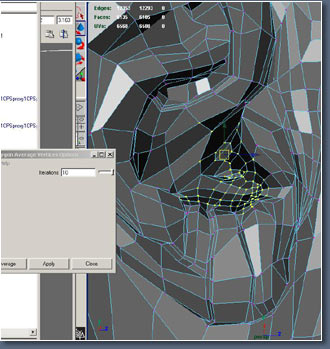 |
Area smoothed.
|
|
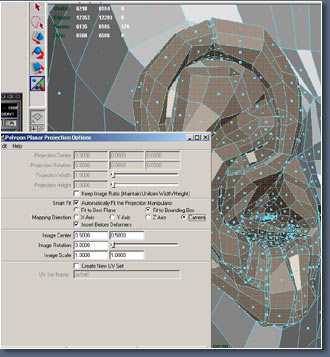 |
I'll be doing
a planar projection on the ears and checked mapping
direction camera.
|
|
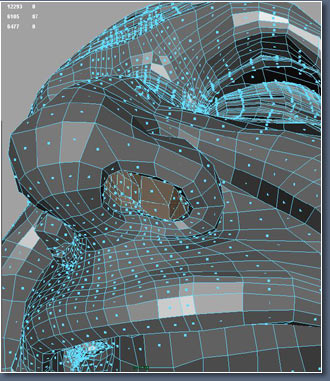 |
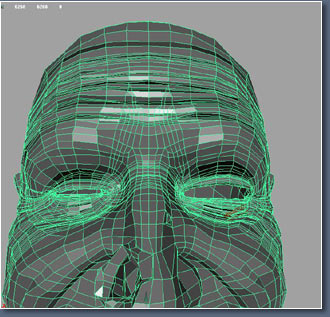
I've selected
the areas inside the nose, to clear then out of the
way mostly so I can see the areas around the nose better
on the UV map.
|
|
| |
|
|