 |
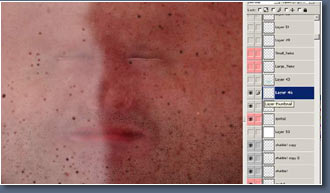
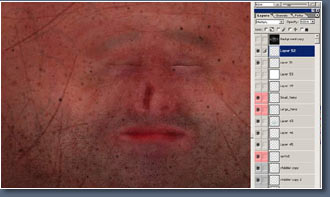
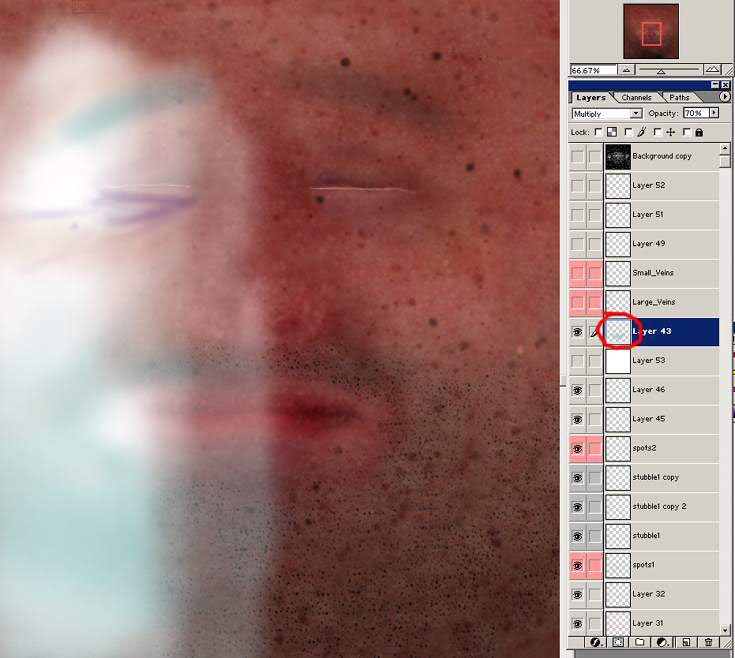
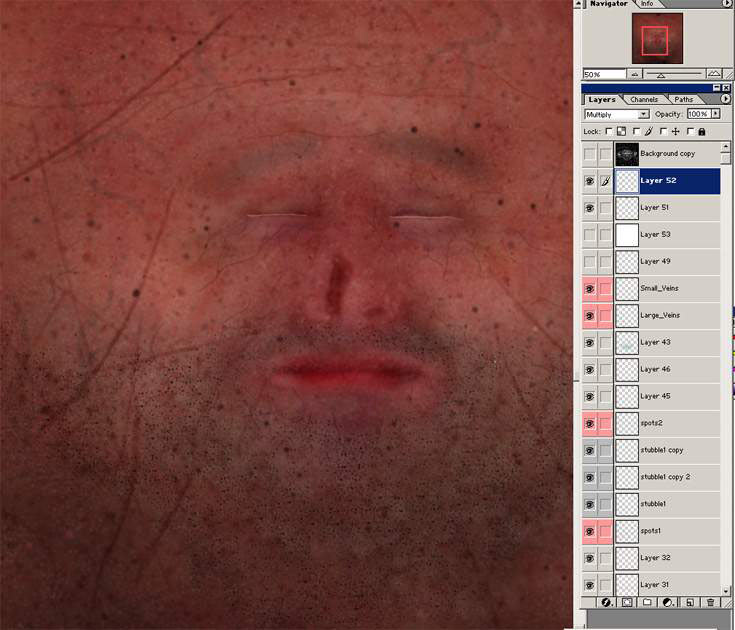
More spots.
These where painted on top of the spots on my spot bump
map layer if you can remember it
|
|
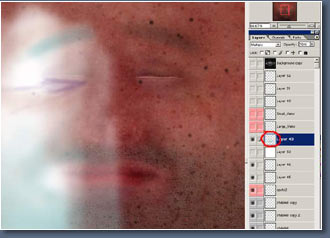 |
On this layer
I painted some soft blue tones then multiplied you should
be able to see the effect they achieve.
|
|
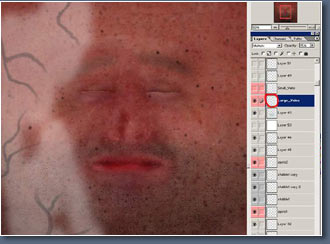 |
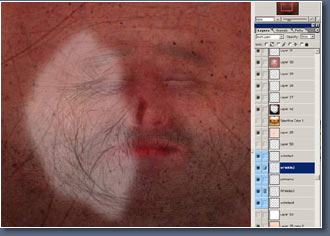
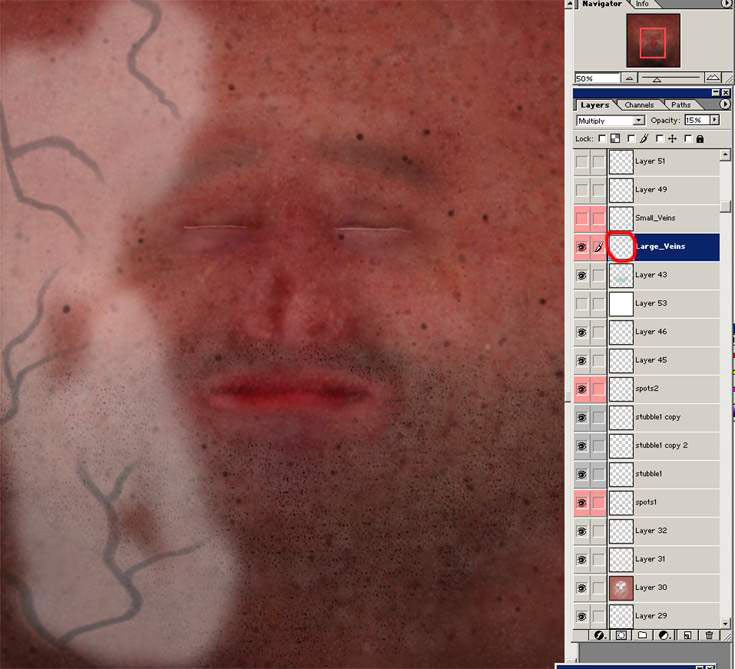
Now a vein
layer , your hardly even see these if at all, but it
gives the impression of something under the skin. you
could pick out one or two that looked the best and copy
then on to another layer and make them stronger.
|
|
Then use the
same vein layer on the bump map using colour dodge to
make a slight bump where the vein is.
|
|
 |
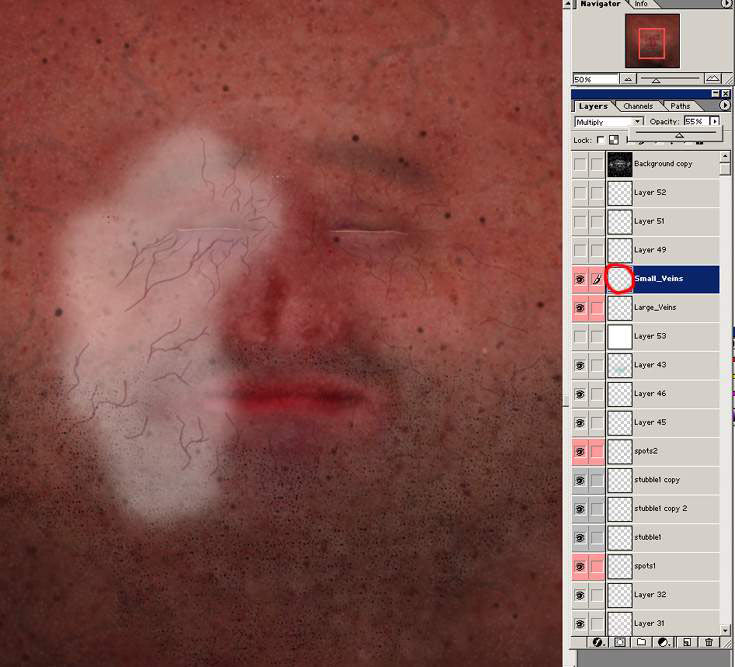
Now for a few
small random veins here and there.
|
|
 |
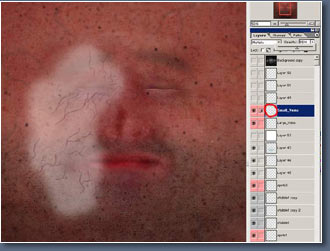
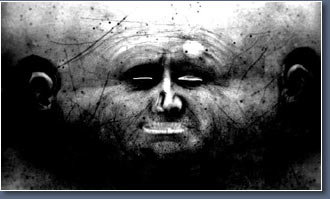
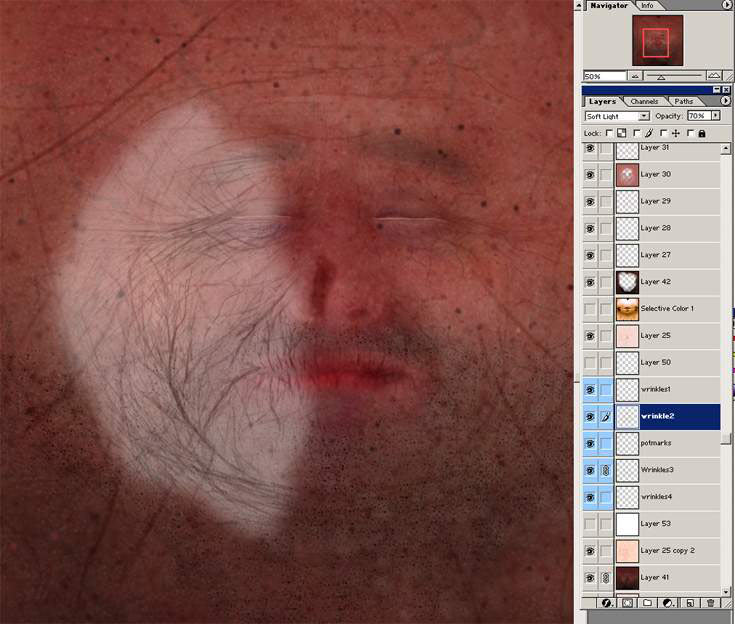
I've added
some scaring, the characters face is actually meant
to be covered in scars but i'll see how it looks before
I add more.
|
|
 |
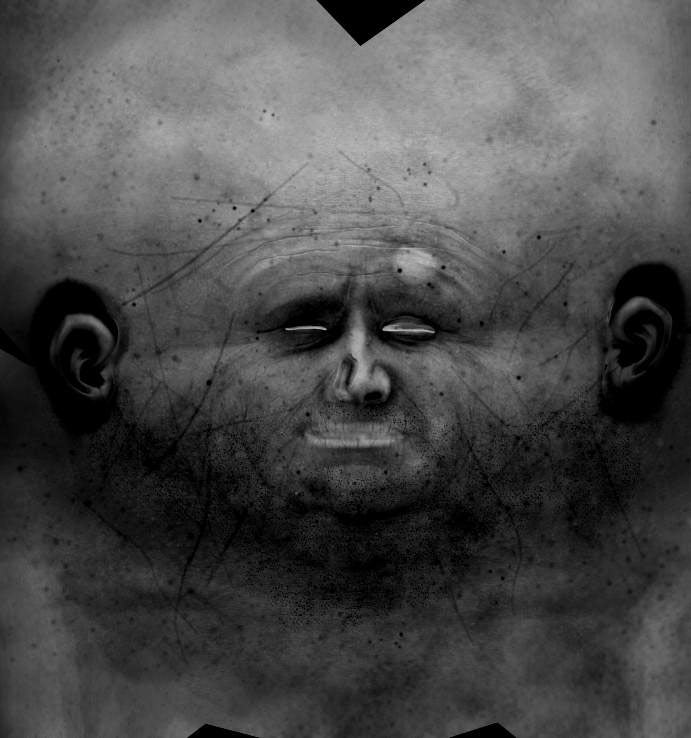
Now you can
use some of the bump details on the colour to darken
where the wrinkles are, sometimes it can look better
if you paint over them with a more reddish colour where
the wrinkles are (like the scars) but that takes time,
but can look a little better.
|
|
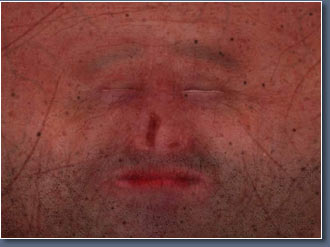 |
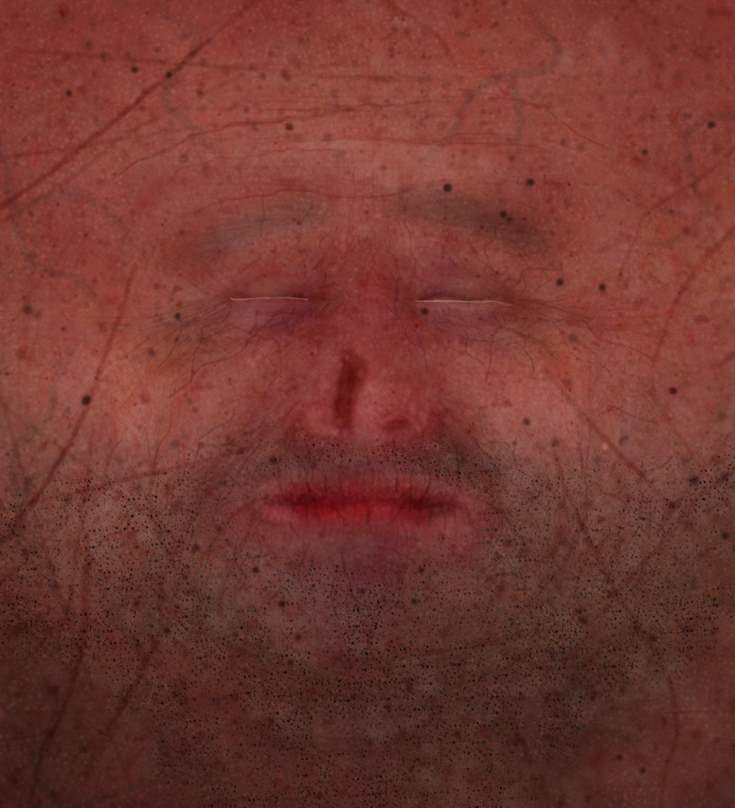
Here's the
sort of finished colour map but you can't really say
finished, things always need tweaking.
|
|
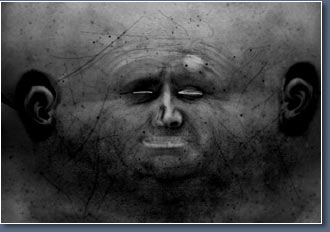
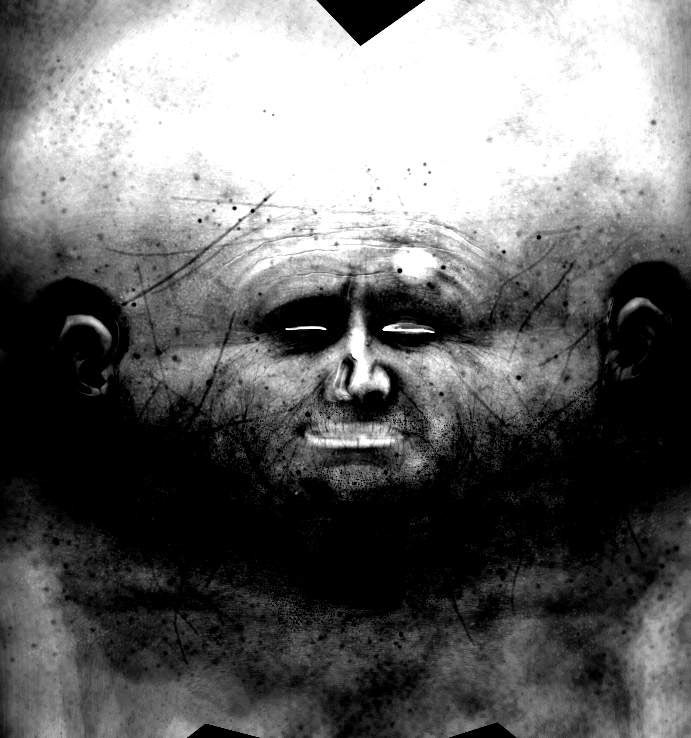
Now I can't
provide this full photoshop file because its 400mb big.
So i've had to reduce it in size and cut it down its
now 684 by 1031 18mb in size.
|
|
The picture
left is what's left
|
|
|
|
 |
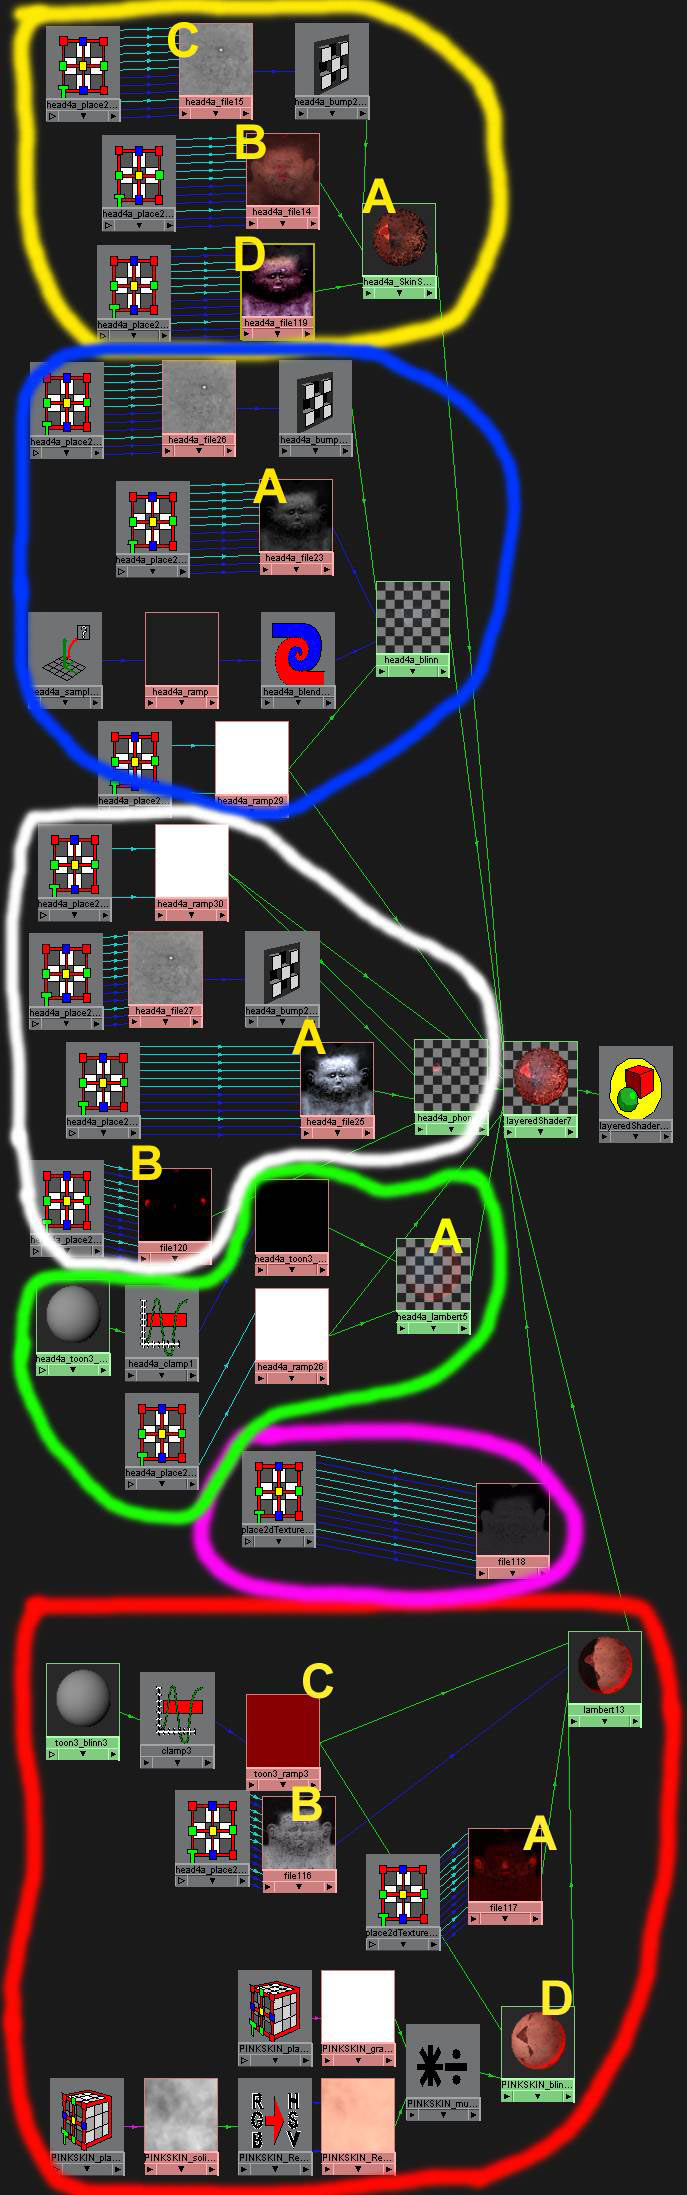
Now before
showing some of the other textures I use, I will show
you one of my skin shaders and try and explain the connections,
below is a map of the connection for my maya 4.0 shader.
|
|
I have colour
coded various parts, it's basically made up of five
different layers.
|
|
I'll start
with the Bottom layer which is circled in RED, this layer
does not really have that much effect.
|
But i'll explain
what textures are assigned here. Marked A
is a translucence map click here
to see it in more detail. This layer it just to trying
to achieve some sub surface scattering effect underneath
the main skin layer.
|
|
Marked
B is a Diffuse map, I find the maya default
renderer tends to fade the textures no matter how deep
you make them this map is just trying to keep all the
areas like the spots and marks as deep and possible
trying to keep as much variation in the skin contrasting
light areas with nice dark spots.
|
Right Marked
C is a ramp colour node based on the ideas
of Dr Steven Stahlberg's skin shader Link,
this is plugged in the the ambient map trying to give a reddish
glow coming thought the skin, but you'll hardly notice
it.
|
Marked
D take no real notice of this one it's just
a few different skin tones taken originally from a good
shader by Dr Matt Wood link.
|
|
The layer that
goes above the bottom layer is circled in YELLOW
sorry the hyper shade map
is laid out a bit awkward i should of arranged them in the
right order but did not really have enough time.
|
|
Marked
A This is the maya skin shader which you can
get of the maya web site Link its very good for bringing
out the rice skin tones, but does take some tweaking
to get the right look.
|
|
Marked
B is the colour map of course.
|
|
Marked
C it's the bump map.
|
|
Marked
D this is a reflectivity map this brings out
some of the nine shiny tones you might want here and
there.
|
|
Now it may
be a bit hard to find but circled in PINK
is a transparency map this
is used to blend with the bottom layer some areas i want to
keep dark as possible other areas i'm happy for the reddish
underneath to blend though.
|
|
| Next up circled in GREEN
is a ramp based shade trying to fake some translucence
in to skin once, again taken from Dr Stahlberg's skin shader
Link
reading his great tut will tell you about it. |
| Circled in BLUE
is a blinn spec layer using a part of Dr Emmanuel
Campins back light shader Link
giving nice side glancing highlights |
| Marked A is just
the spec map. |
| Circled in WHITE is the top layer
this is just a another spec layer, a phong this time I try to
get some nice wet highlights on this layer the skin looks little to
dry other wise. |
| Marked A is a spec
map. |
| Marked B is another
translucence map bringing out some more reddish tones around
the ears. |
| And that's it for the shader description. |
| For the final part of this tut I will
just go though the other maps and how I made them. |
| Sorry but this tutorial does not include
any lighting or rendering tips, that will come in a future tut. |
| First i'll have a look at the spec
map. |
 |
This map just
controls the shininess of a shader, I used part if my
GI light baked texture Map to help darken a few areas.
|
|
Areas like
the nose and lips usually have more shine or glossiness
to them, areas like the bottom eye lid aswell. Have
look at someone and see how shiny and reflective the
bottom eyelid can be.
|
|
 |
If I want to
tweak this map or add colour to it, I usually do that
in maya, to achieve a really wet highlight, I might
alter the level making darks dark and light areas really
bright.
|
|
| |
|
|
