 |
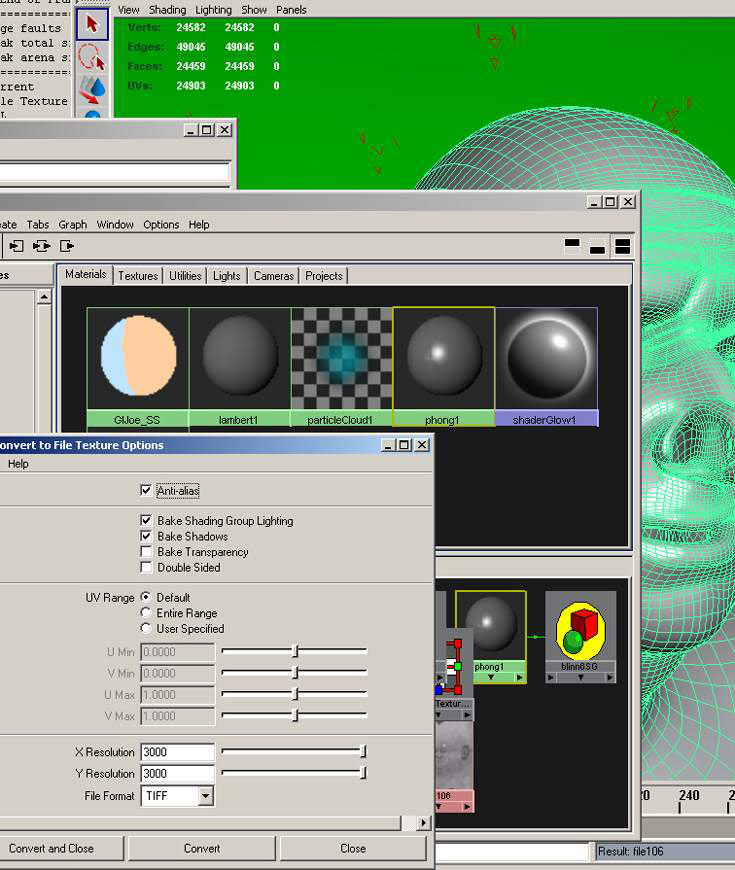
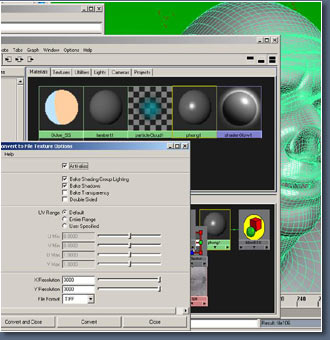
I've setup
the lights selected the object and in the convert texture
options selected bake shadows this time.
|
|
 |
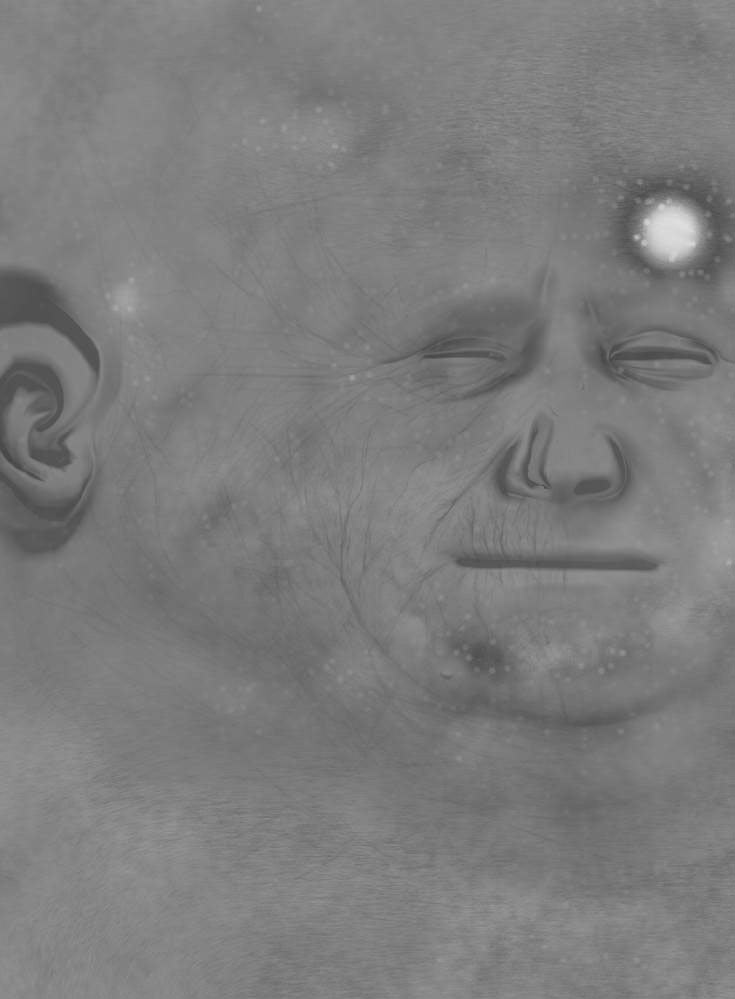
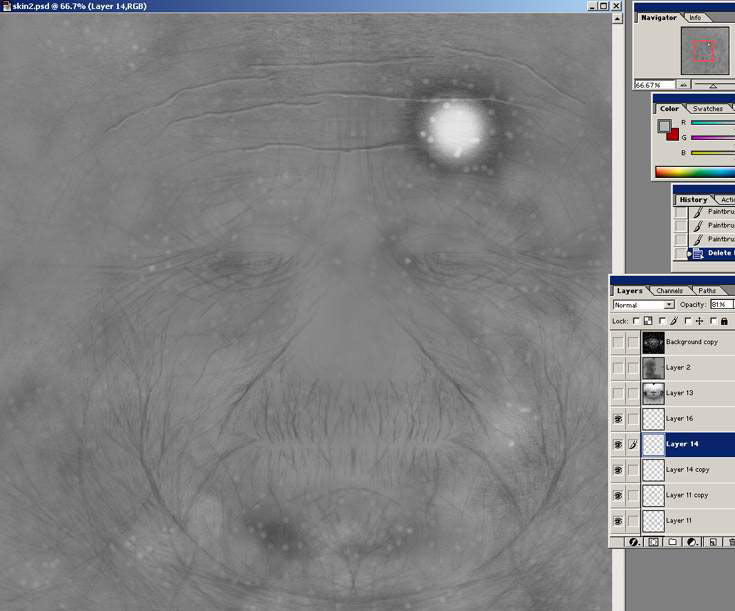
Here's the
baked texture image, using this in your photoshop file
can make Painting easier instead of using the Uv map
to paint different layers.
|
|
You can actually
use some baked textures like this in your maps, its
not really any use in a bump map , but can be useful
for spec or diffuse map for example.
|
|
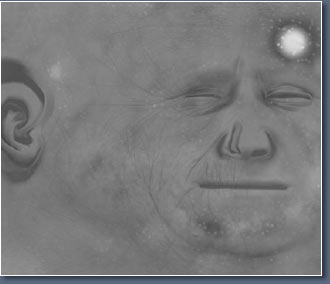 |
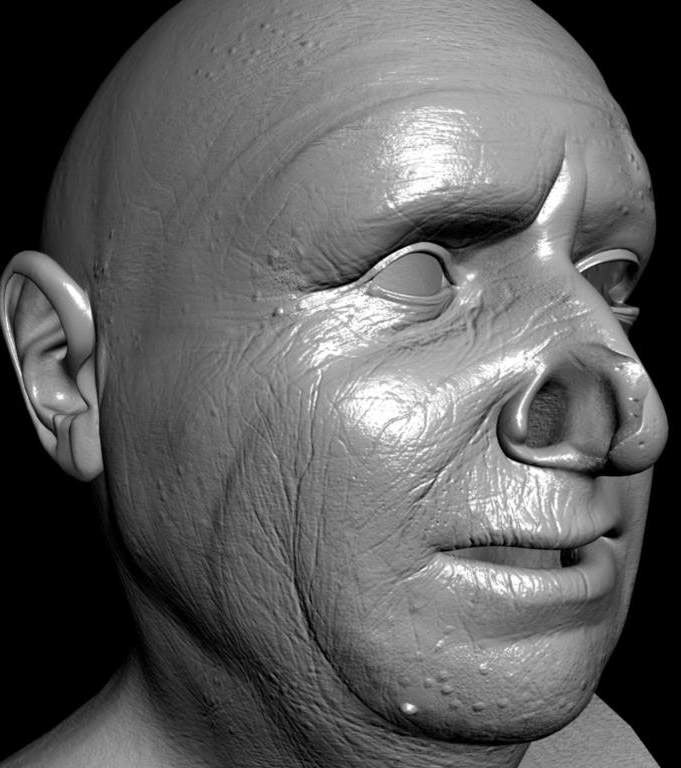
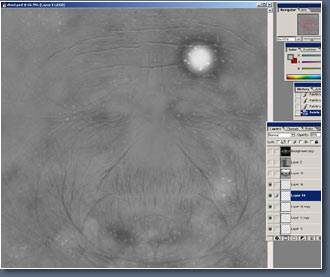
Here's my bump
map so far, you can see how i've blended in the baked
texture for now, its makes it easier to paint.
|
|
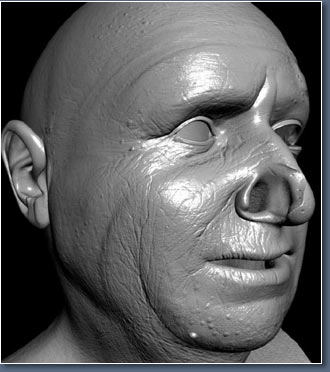 |
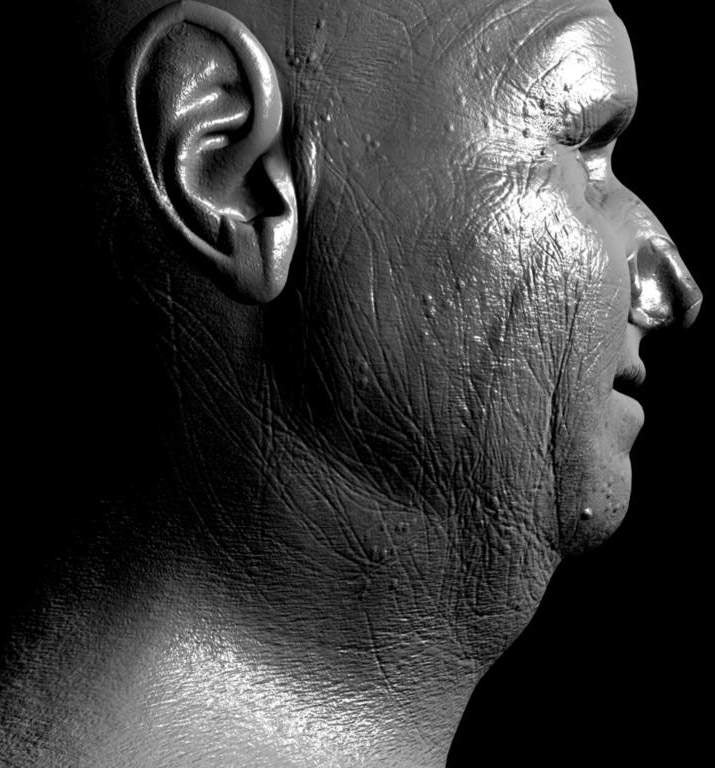
A test render.
|
|
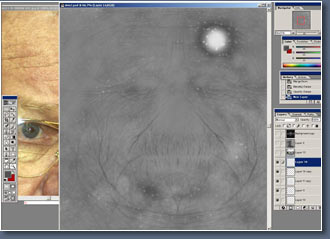 |
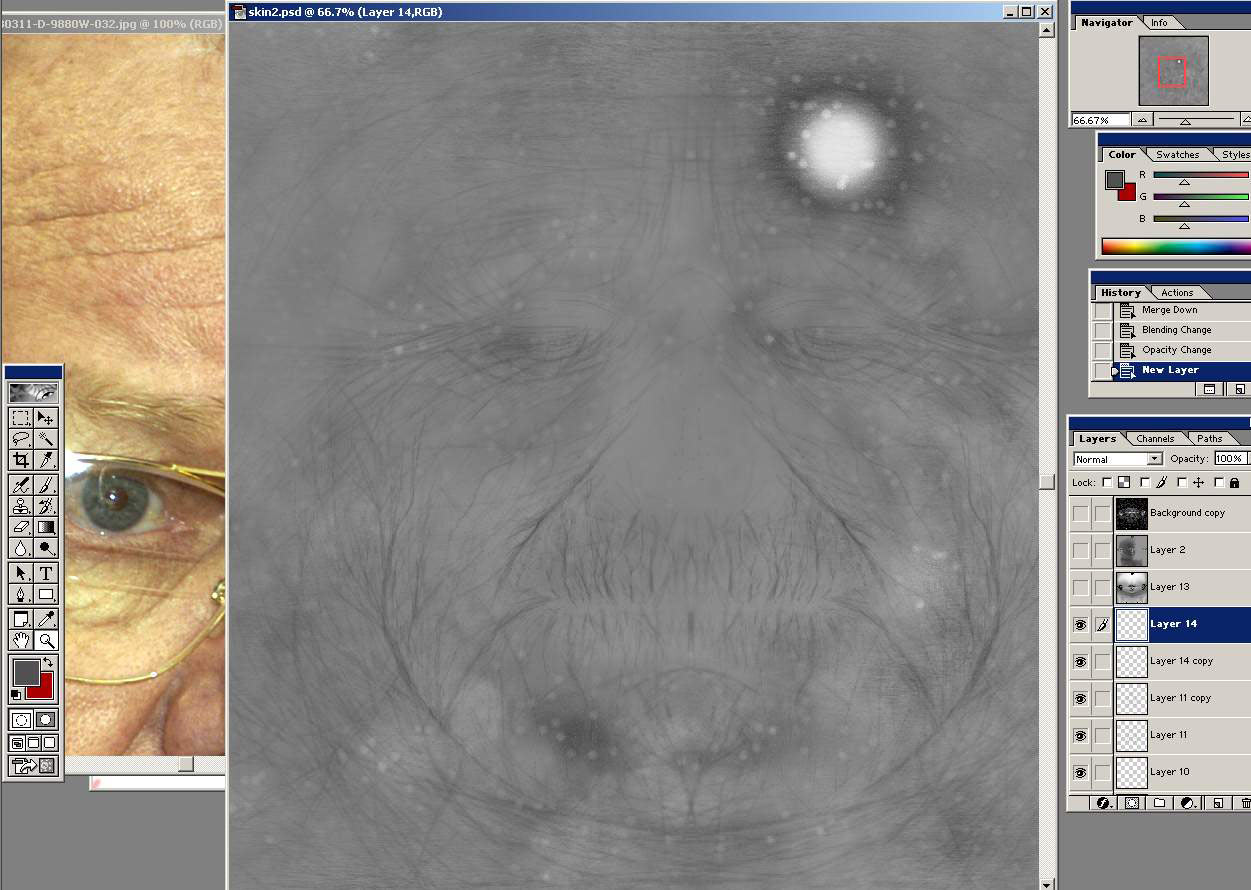
I've added
more layers and more wrinkles the photoshop file can
start getting quite big, you could start merging some
of the layers to together to reduce size. But its best
to keep as many open as possible because there's always
some tweaking to be done later on.
|
|
Also in the
above picture notice after painting the wrinkles on
one side i've copied and flipped them over to the other
side, saving time.
|
|
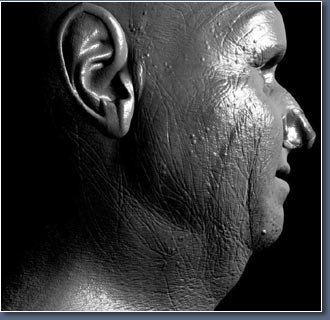 |
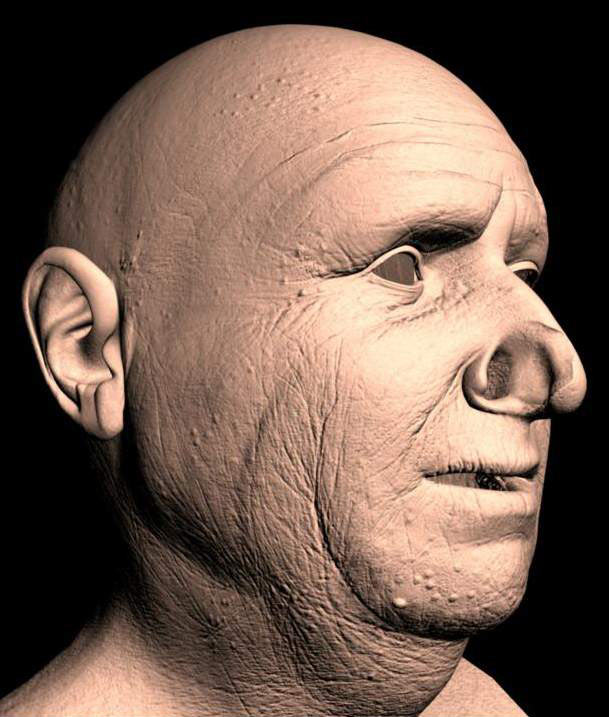
Here's the
bump map almost finished, its not actually very good,
but it will do, it was rather rushed.
|
|
You can probably
see parts of the different maya texture maps I used,
its a quick way of making half decent textures.
|
|
It would have
been nice to of been able to of used some displacement,
it would really suited a head like this.
|
|
|
|
 |
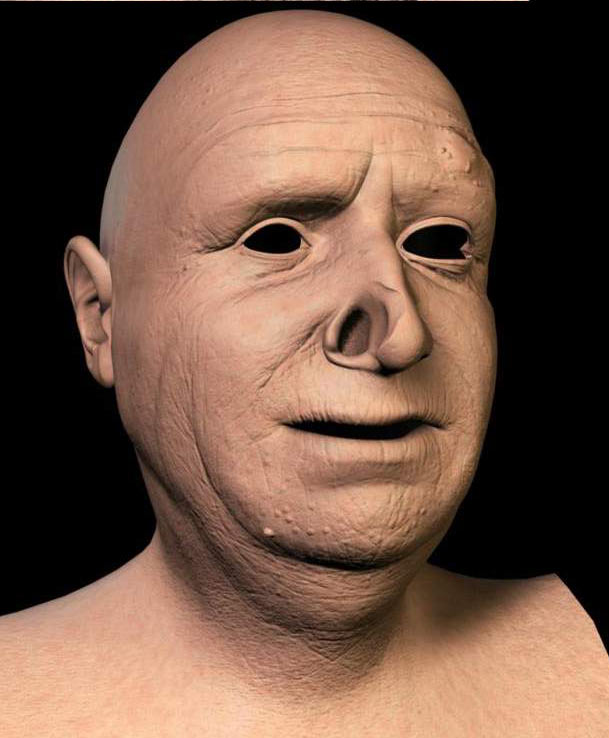
That's the
bump map kind of finished, I might go back and tweak
it some more later. Now its on to the colour map.
|
|
 |
Like the bump
map it can be hard making a start on the colour map.
|
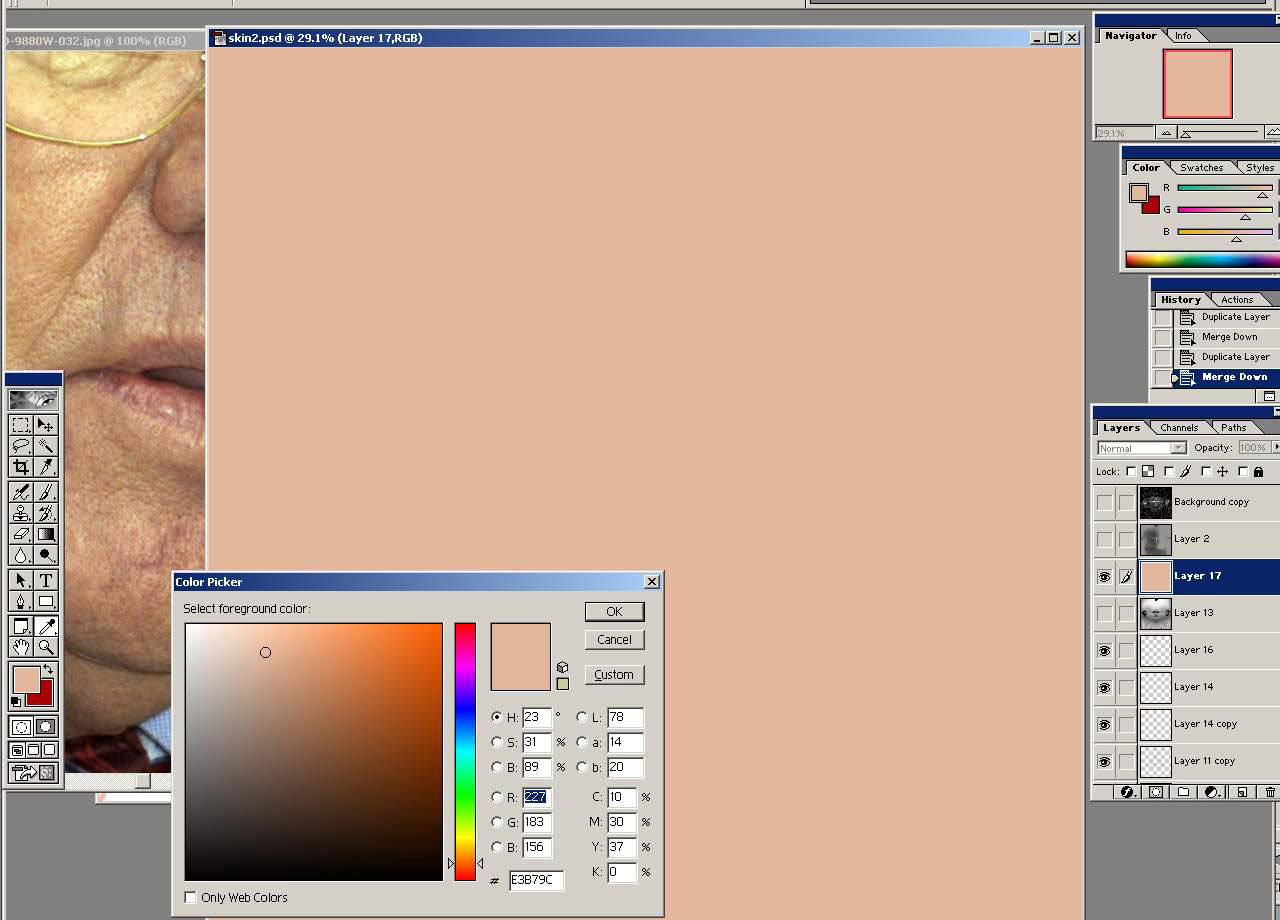
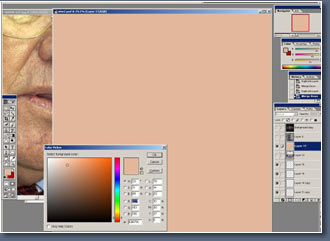
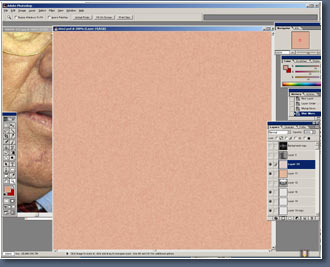
Well lets start with just
a skin tone its R227 G183 B156 if you can't see the number.
|
|
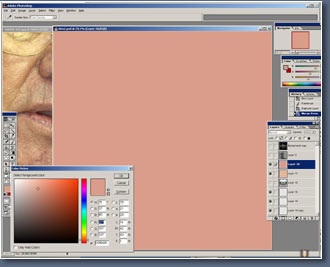 |
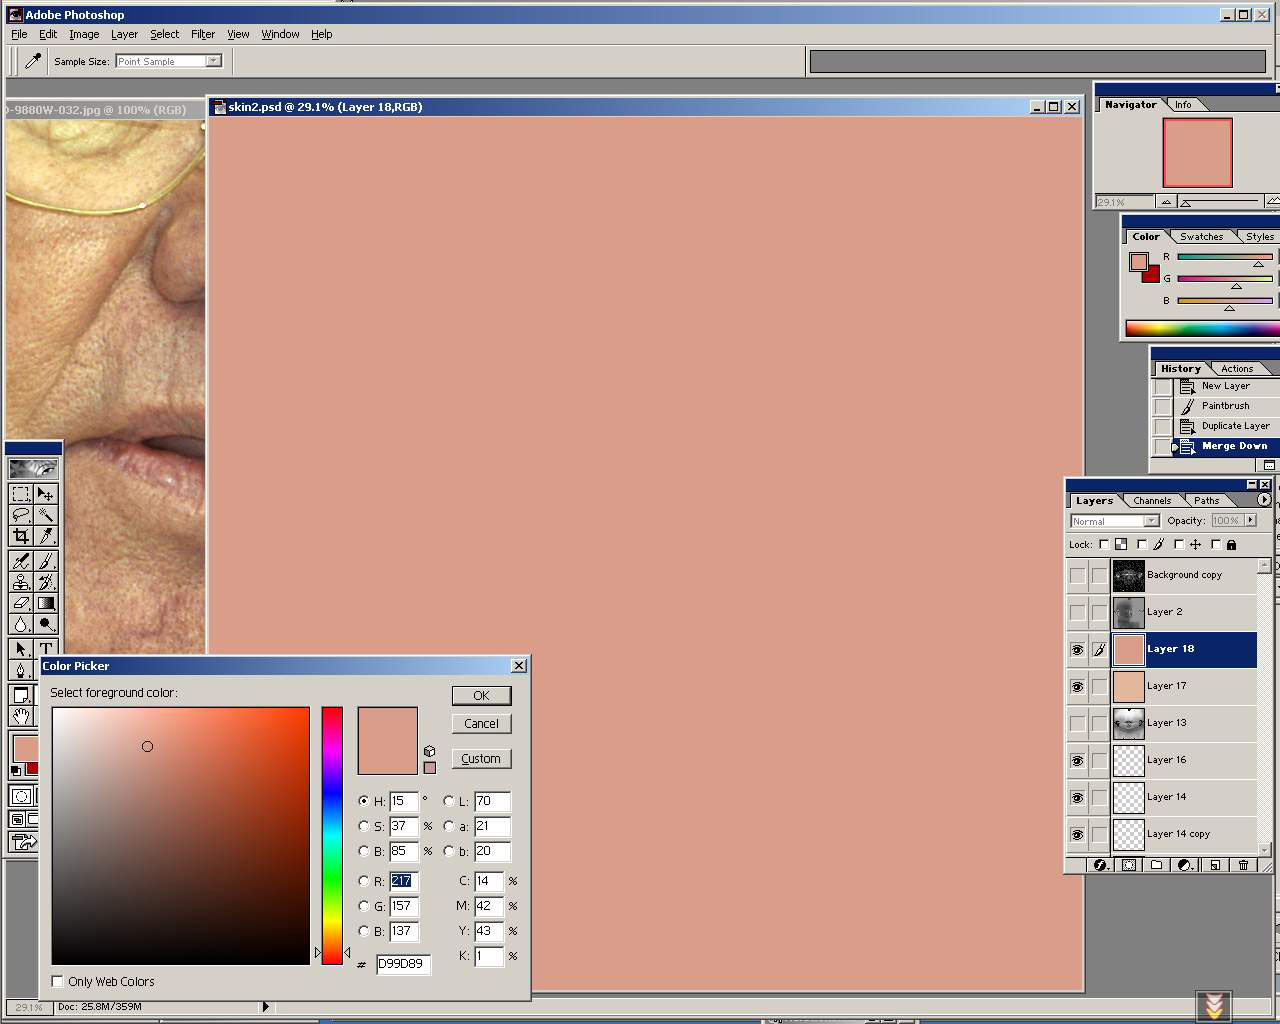
Then on another
layer a slightly darker tone R217 G157 B137.
|
|
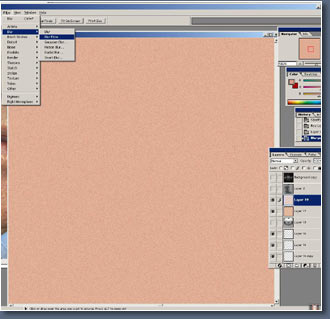 |
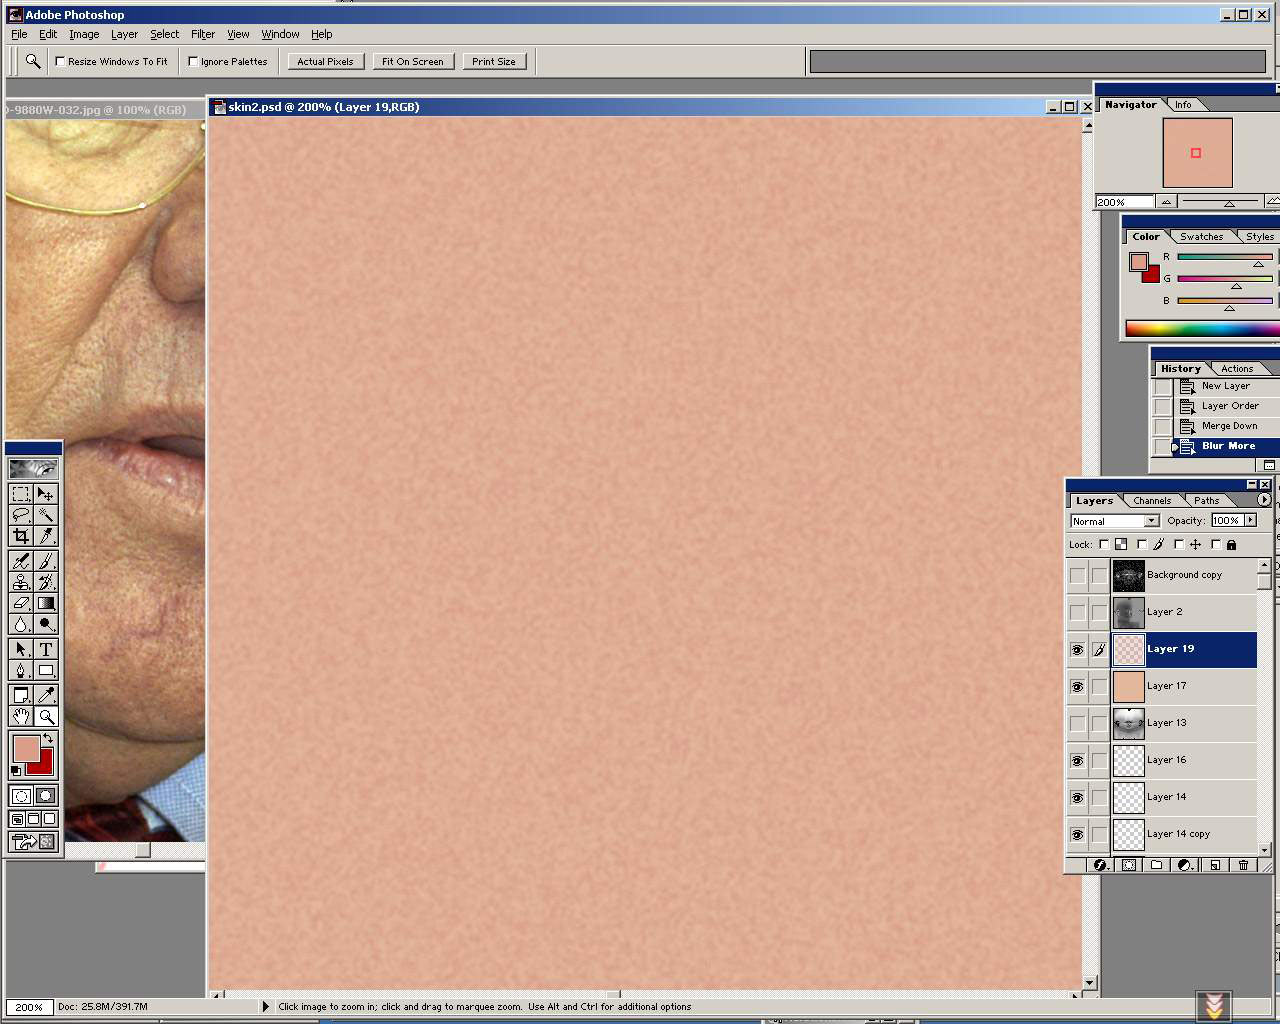
Next I have
diffused the darker skin tone layer then added blur
to it, to get a nice variation in the skin texture.
|
|
 |
That's probably
the key with skin the variation in the skin tones.
|
|
| |
|
|