 |
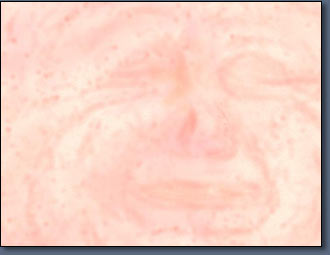
I've hidden
the first skin tone layer for now and started another
and i'm going to start painting some marks and spots.
Now a lot of the detail you paint you probably would
even see in the final texture but its about building
up layers and variation in the skin tones.
|
|
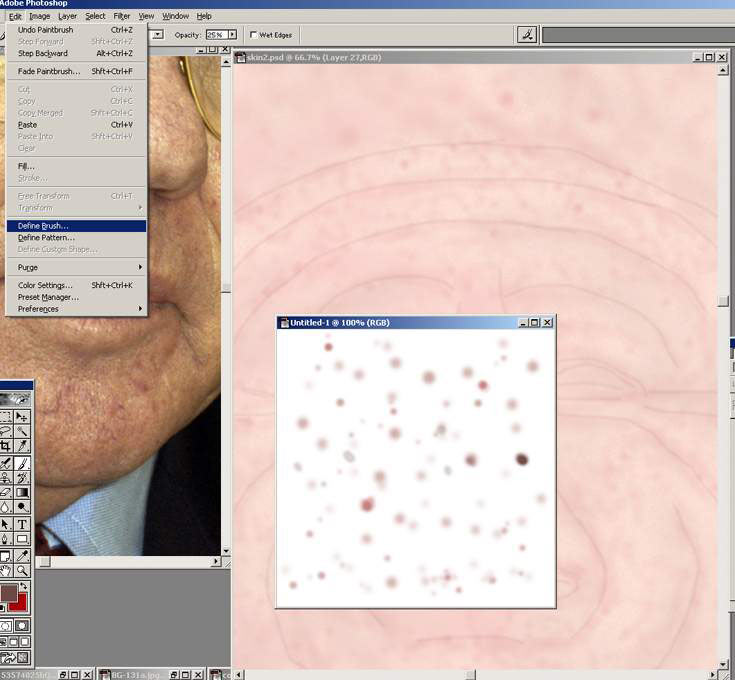
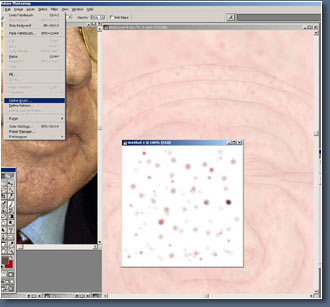
In the picture
above you can see I have faintly outlined the details
of the face, also in instead of spending ages painting
every single spot (that would would take forever). Experiment
with making your own brushes, just create a new photoshop
file maybe 200 by 200 in size and Paint various spots
in it, then like in the picture above make it a brush.
you should be able to see the menu and what i've selected.
|
|
 |
Now using different
skins tones i've darkened and added spots and blemishes
here and there, it don't have to be very neat just building
up lot of different tones.
|
|
A good thing
about painting an old persons texture you don't have
to be so neat and precise, I find the hardest texture
to paint is a attractive female face.
|
|
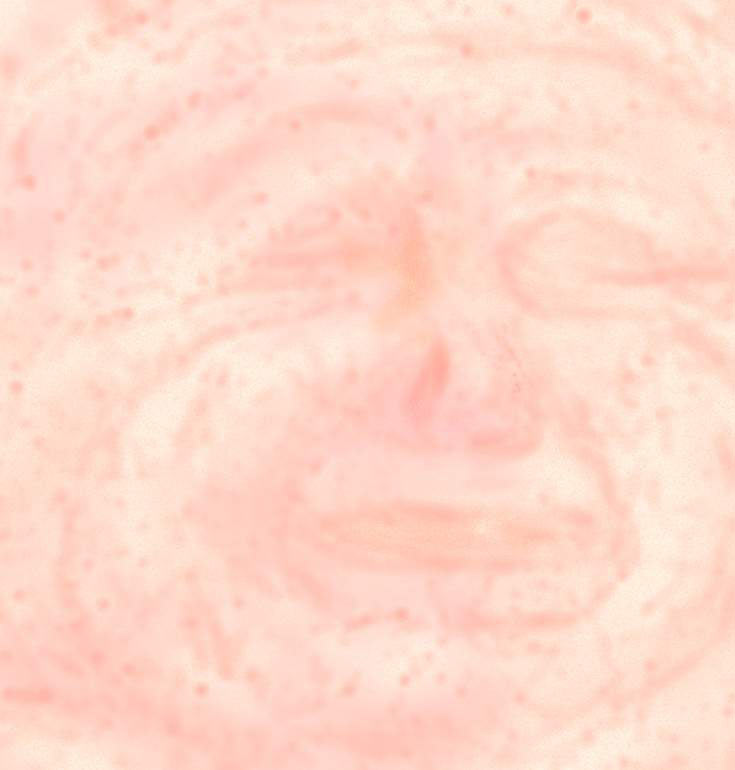
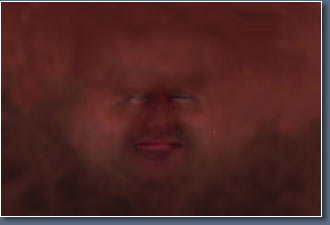
Now we have
a base of a texture here but I need to deepen the colour
a lot more. To do that i use a map like the one below,
this is just a simple layer painted in nice dark tones
lighter and darker in different areas, if you want to
use the picture below I included the high res version
just click on the picture for it.
|
|
 |
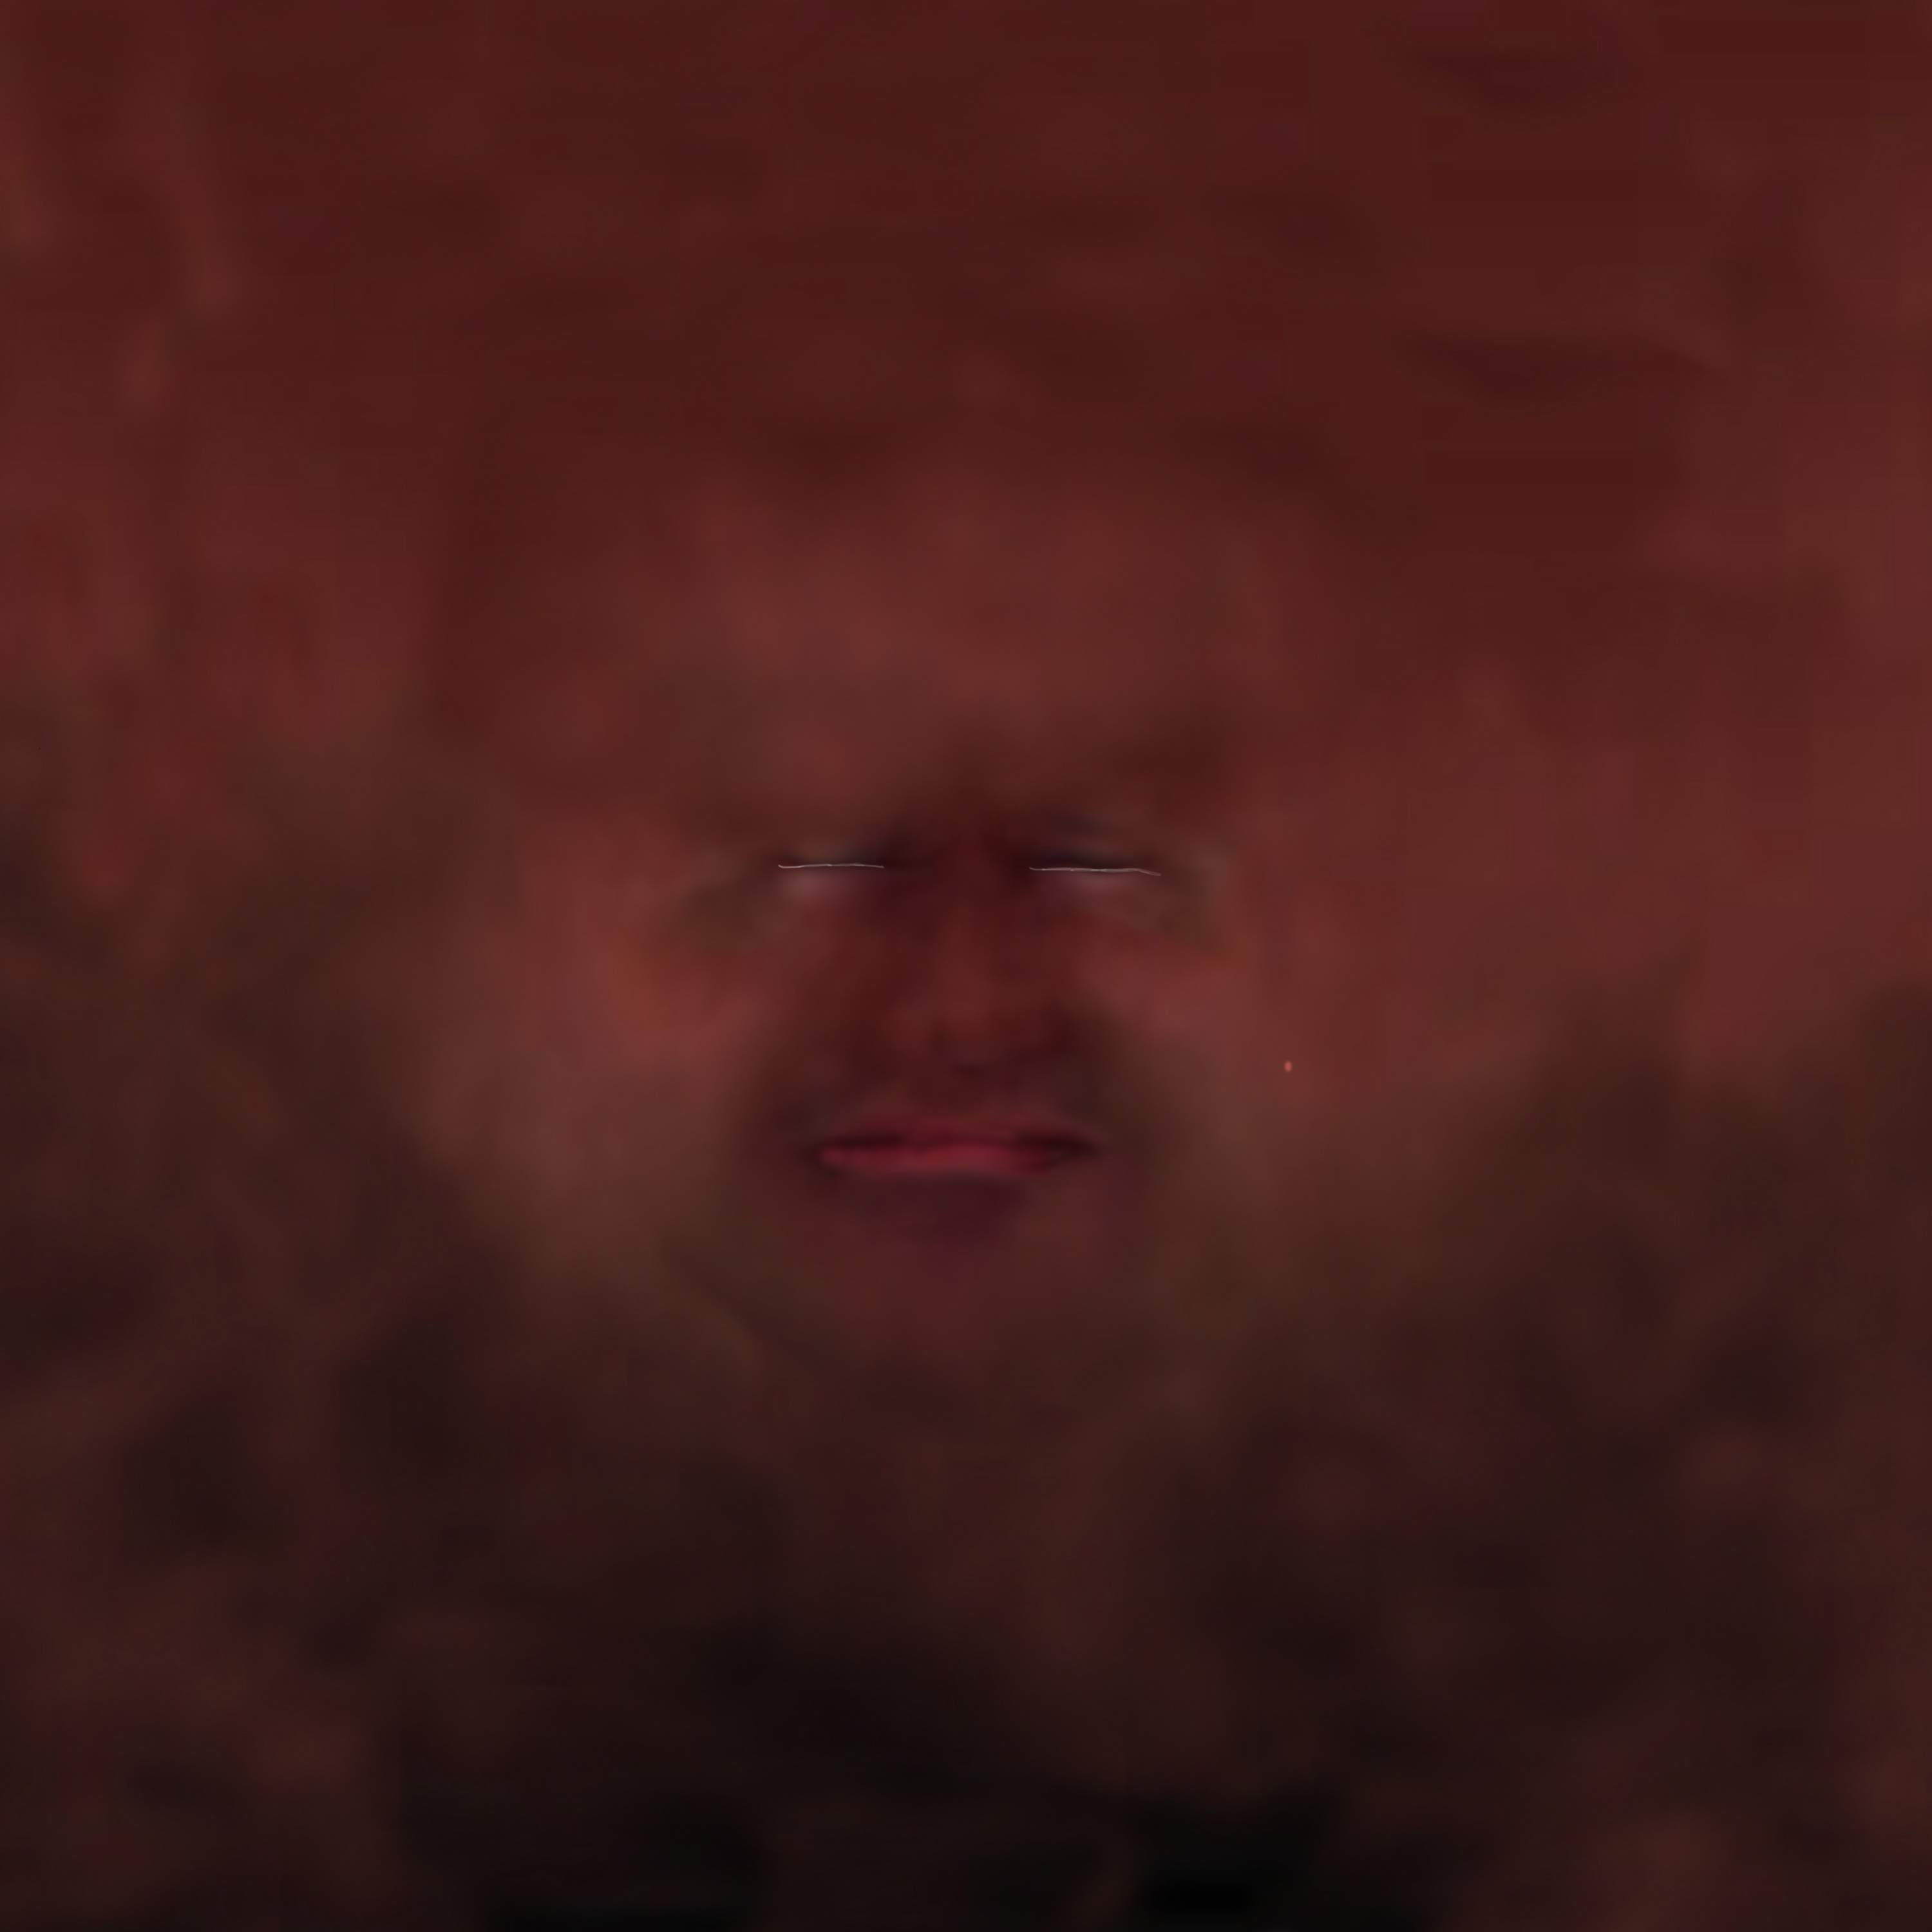
Now using the
picture above as the bottom layer I blend the other
skin layers on top of it using soft light or multiply
this enables me the easy control the darkness of the
texture. Because the skin shader I use does tend to
fade out my texture some what so I have to make sure
their quite dark.
|
|
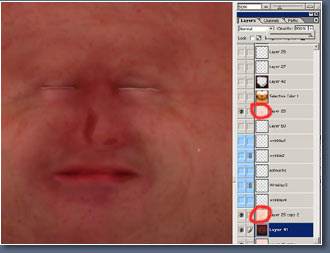 |
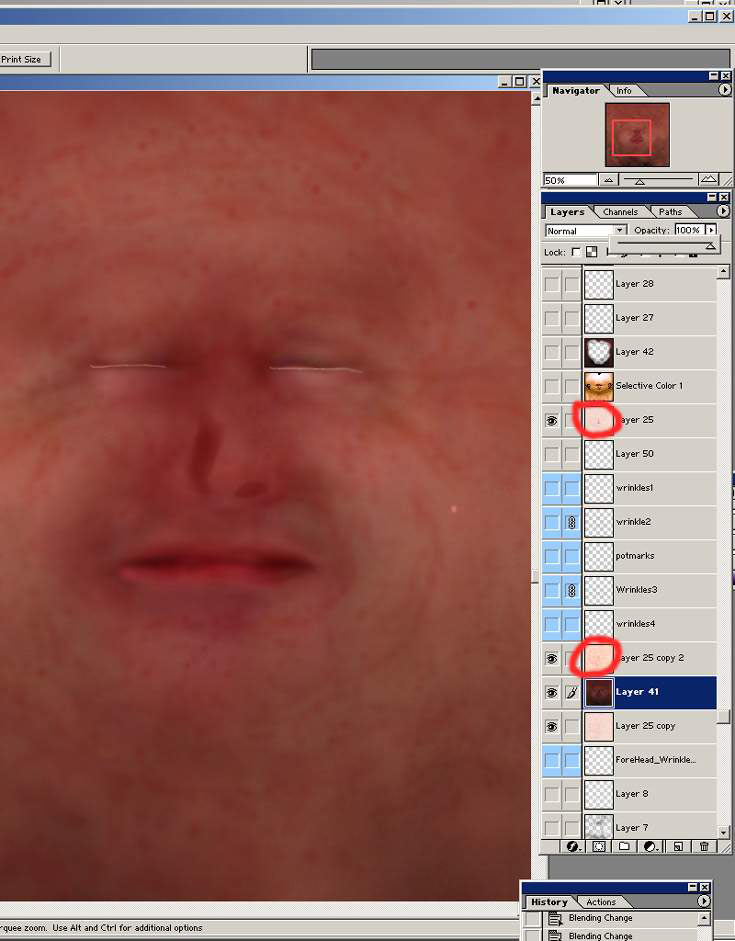
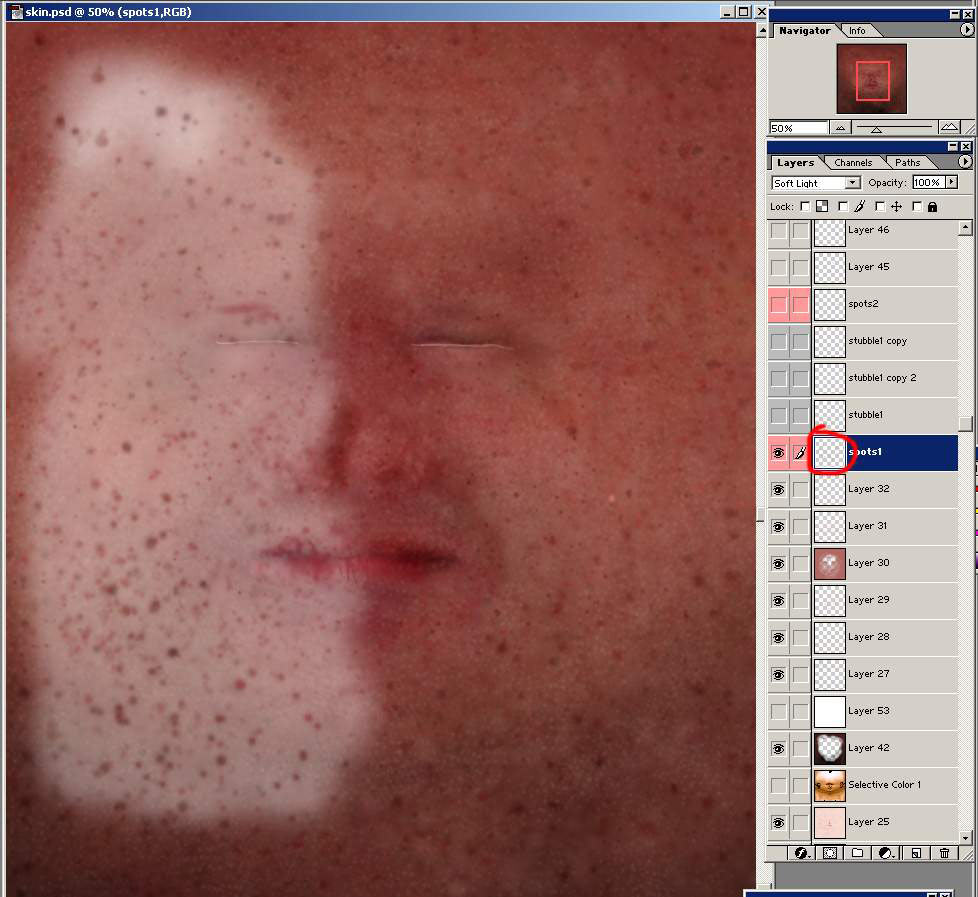
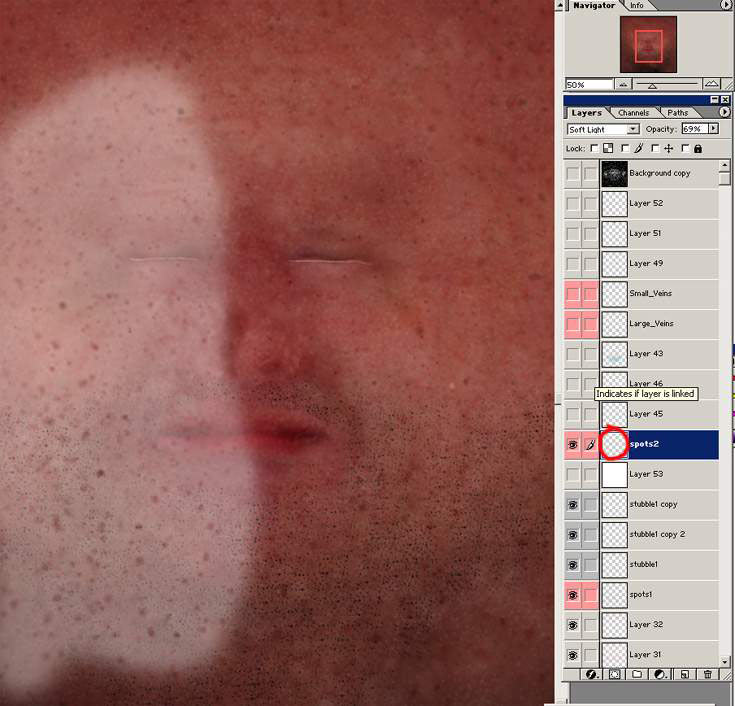
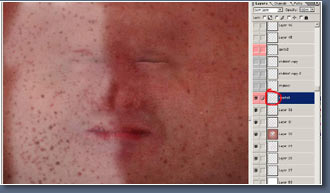
Now here's
the texture blended with the two light skin layers I made.
|
| Marked in red
above your see their overlaying the dark texture using
soft light and multiply. |
| Also notice
theirs a light skin tone below the dark layer this is
if i want the skin lighter I can just tweak the opacity
if the dark skin layer. |
| Your see we still keep lots
of the details and marks from the lighter skin layers. |
|
 |
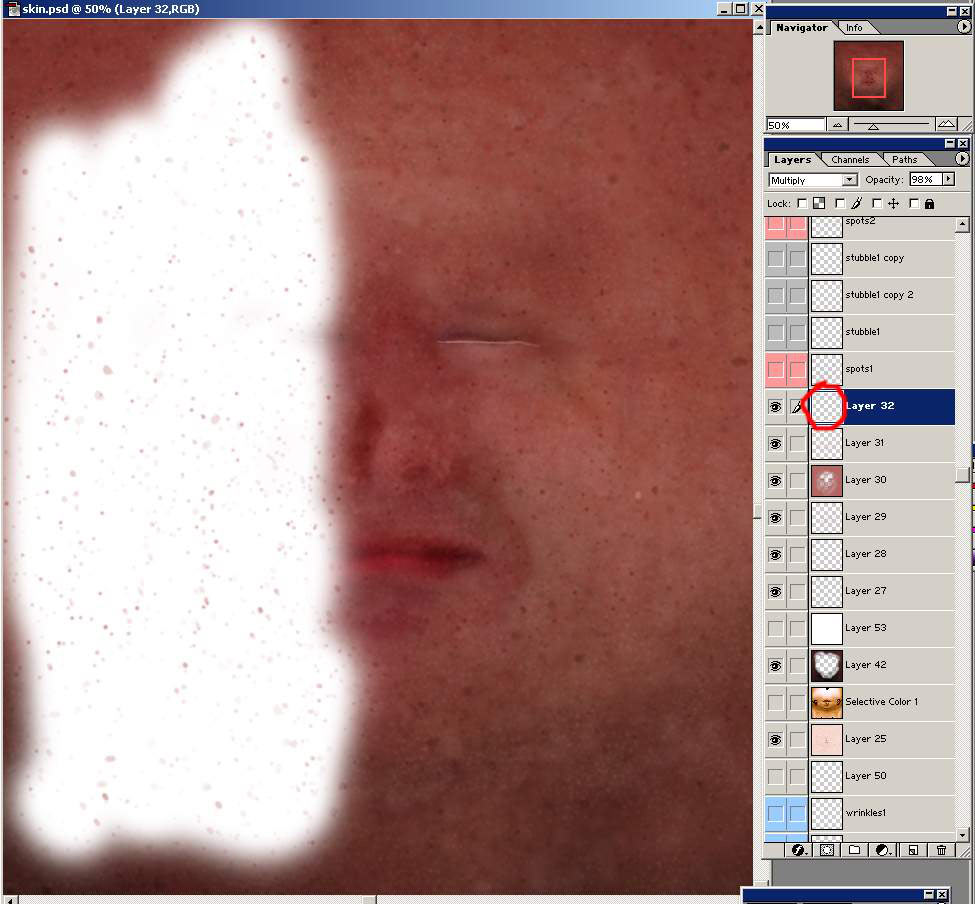
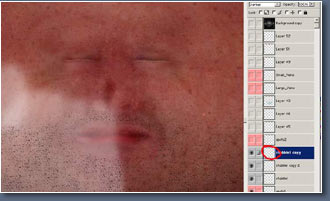
In the picture
above I have just darkened the outer areas of the texture
using a copy of my dark skin layer and erasing the middle
area as you can see marked in red.
|
|
 |
Now i'm going
to go though all the layers i've used, some have hardly
no effect but they all add up to a nice varied skin
texture I guess.
|
|
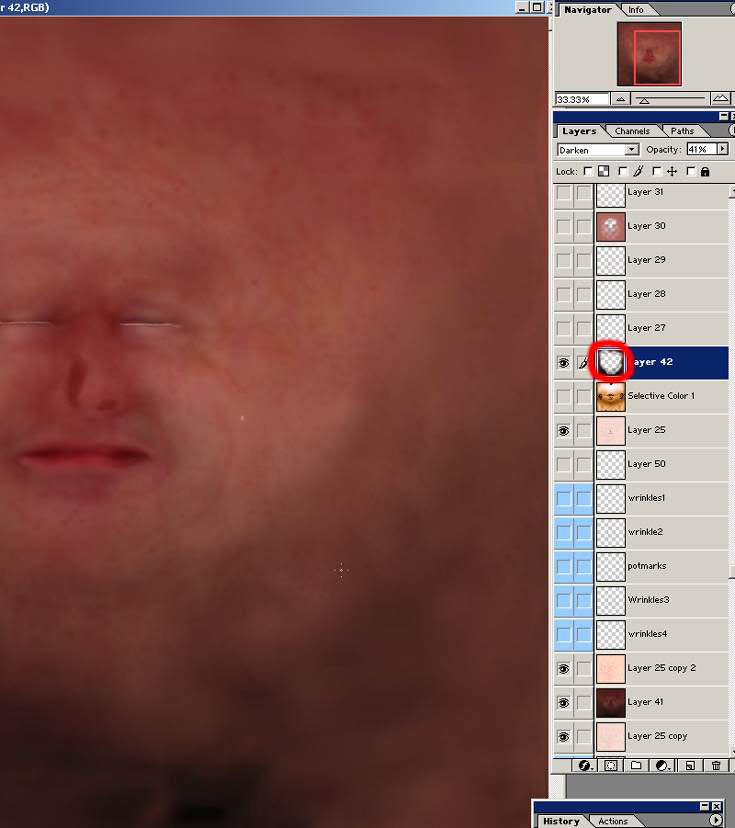
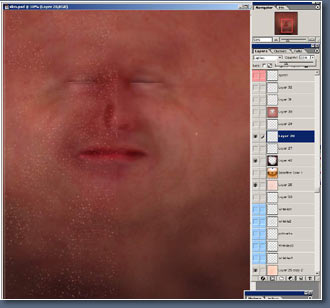
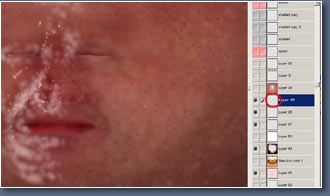
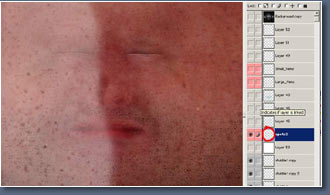
Right marked
in red is layer 28. (if your a organized person by the
way you might want to consider about naming and colour
coding all your layers ;-) ) but I cant the bothered.
|
|
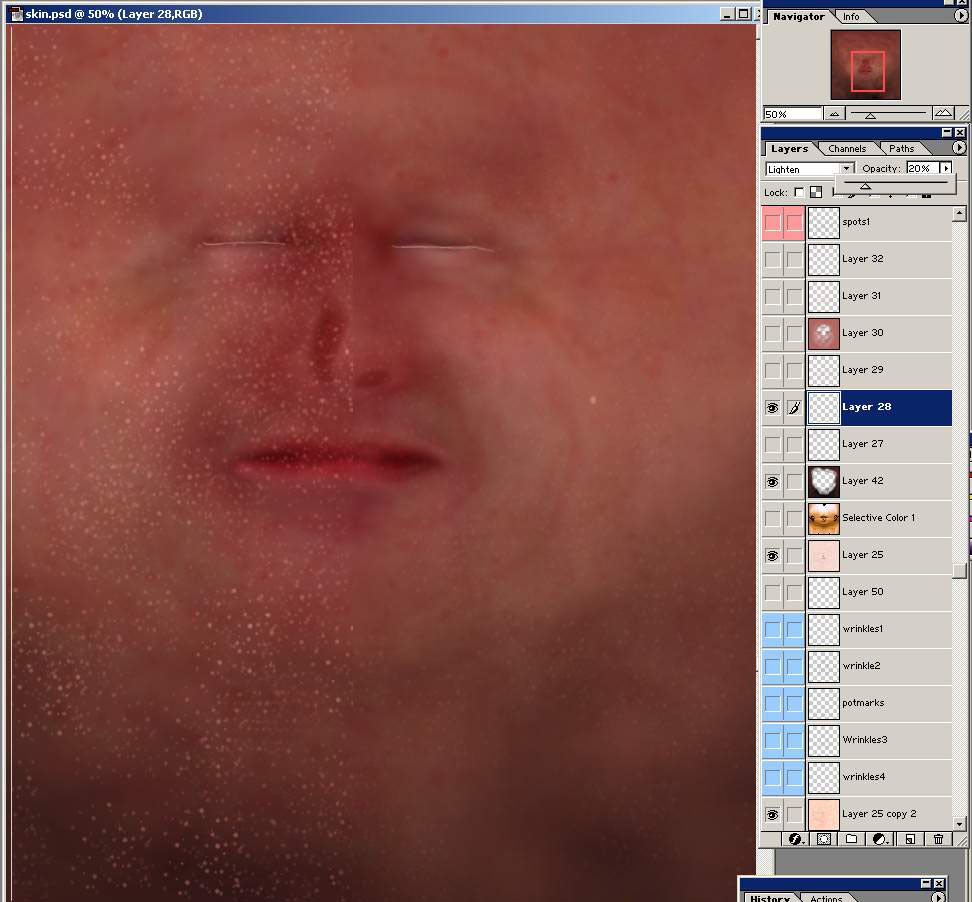
For layer 28
i've painted light colour spots using a simple custom
brush I made, then i've used lighten with opacity at
20% so you can just barely see them. On the right i've
pasted in a picture of the opacity turned right up so
you can see them.
|
|
 |
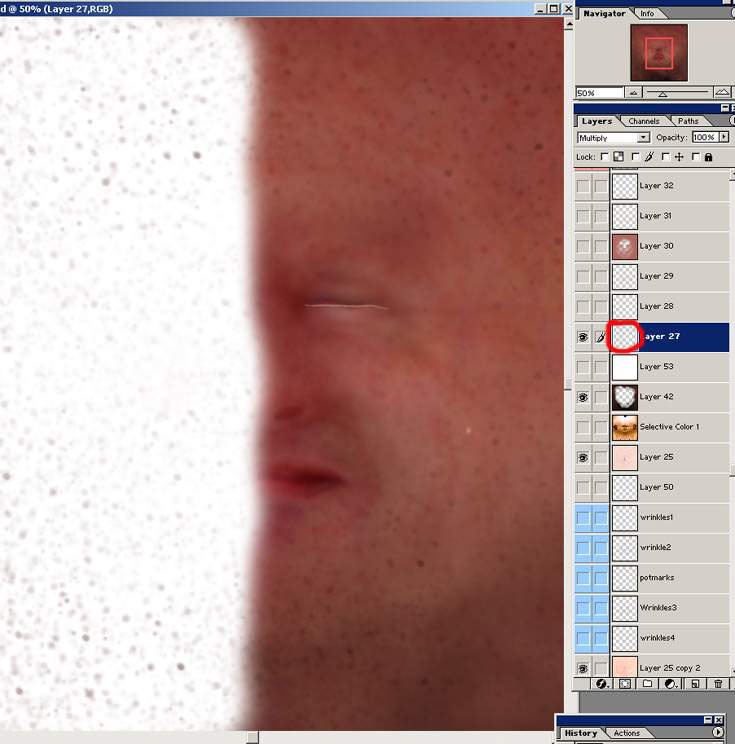
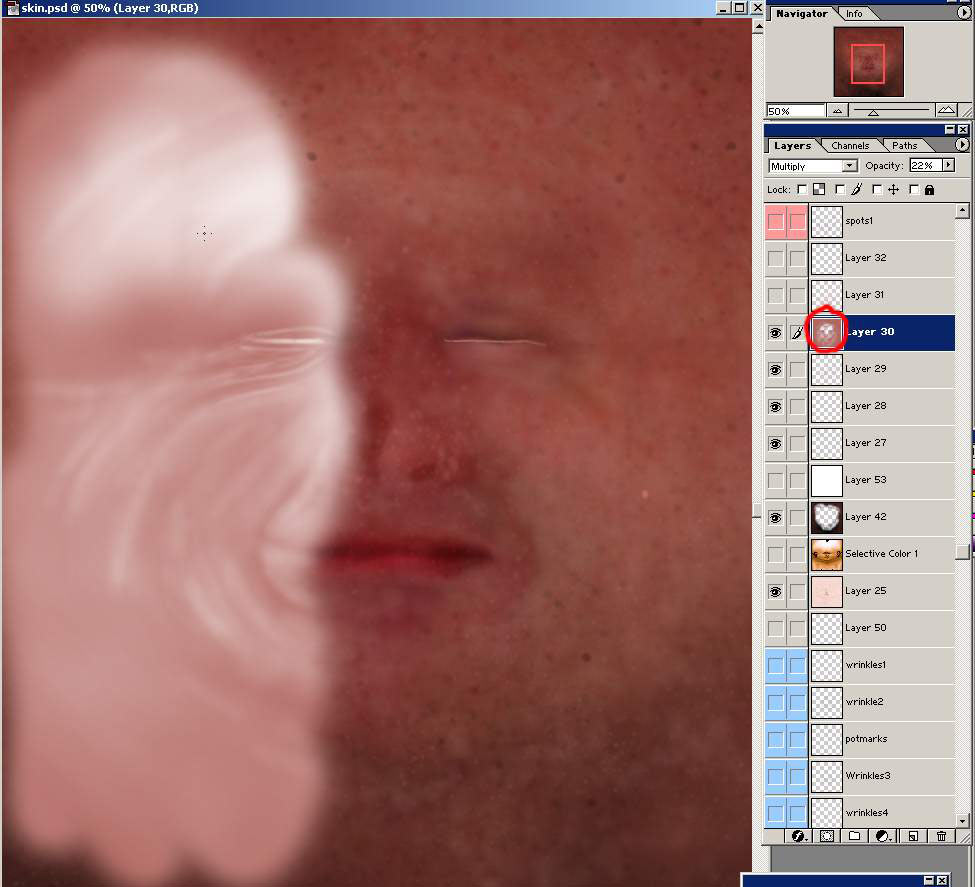
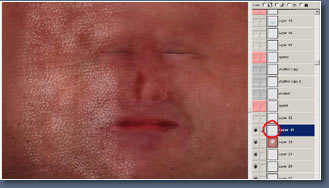
Now a layer
of dark spots made again just by using a custom brush.
then multiplied.
|
|
 |
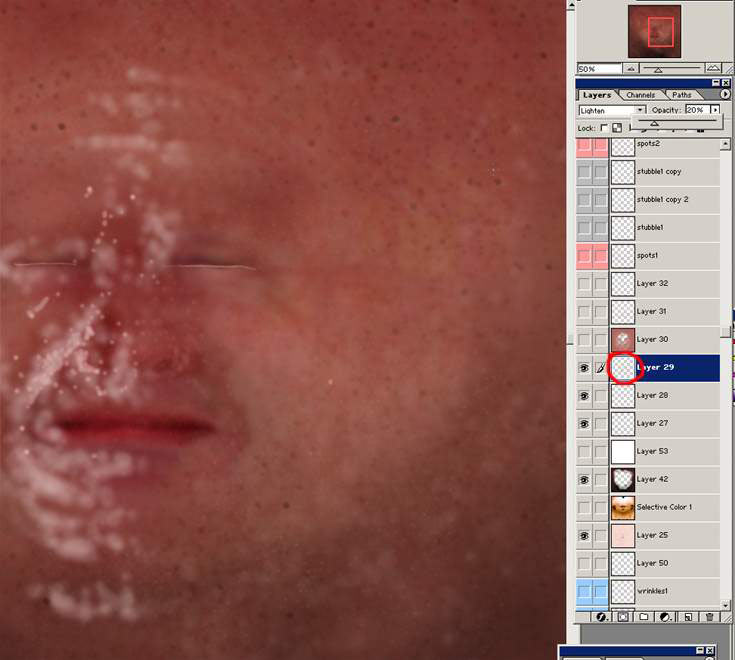
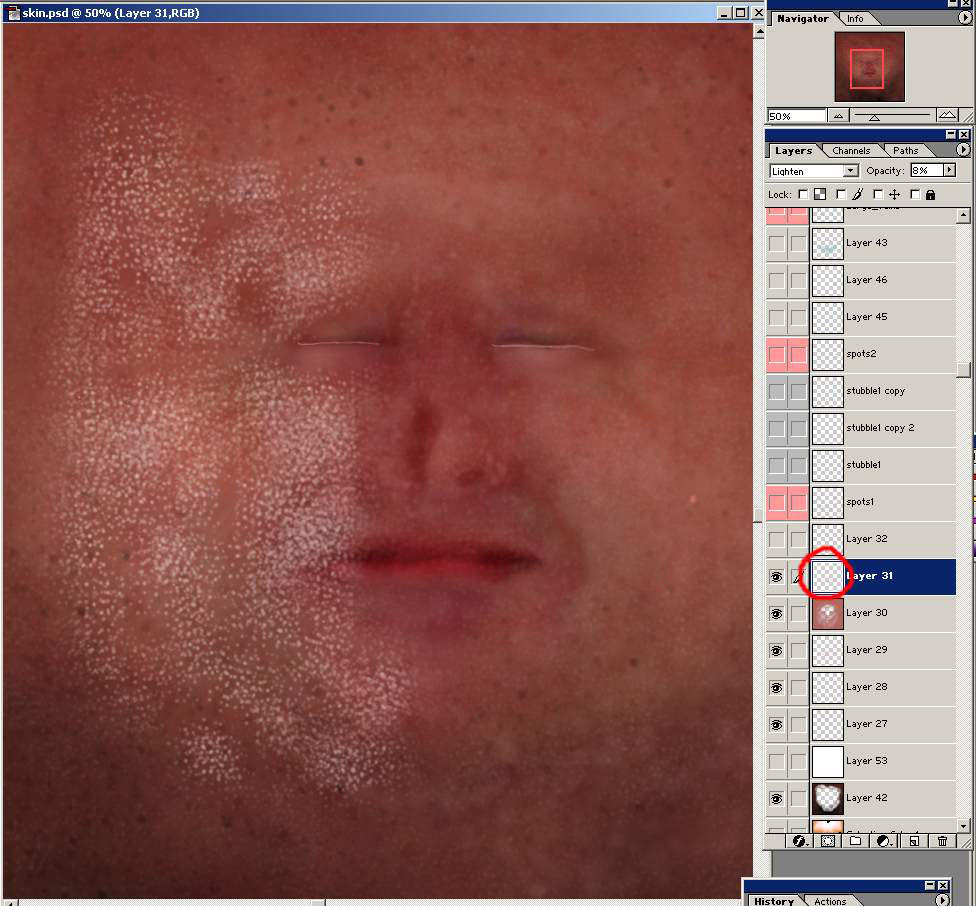
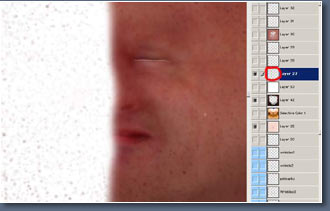
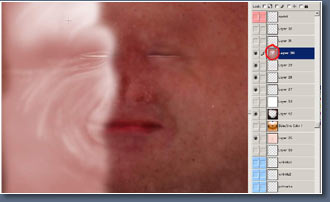
Next layer
lots of random light skin tones then, layer set to lighten
at 20% opacity, i've lightened the area on the left
of course so you can see then.
|
|
 |
Next up a reddish
tone adding a bit more variation and colour.
|
|
 |
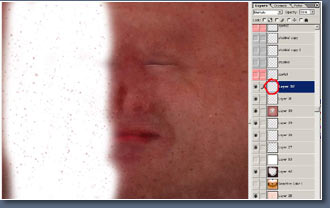
Next up, loads
more tiny spots, a custom brush again and layer lightened
with a very low opacity so you can just barely see them.
|
|
 |
Now a layer
of small darker spots layer set to multiply.
|
|
 |
Sorry, but
its another spot layer.
|
|
 |
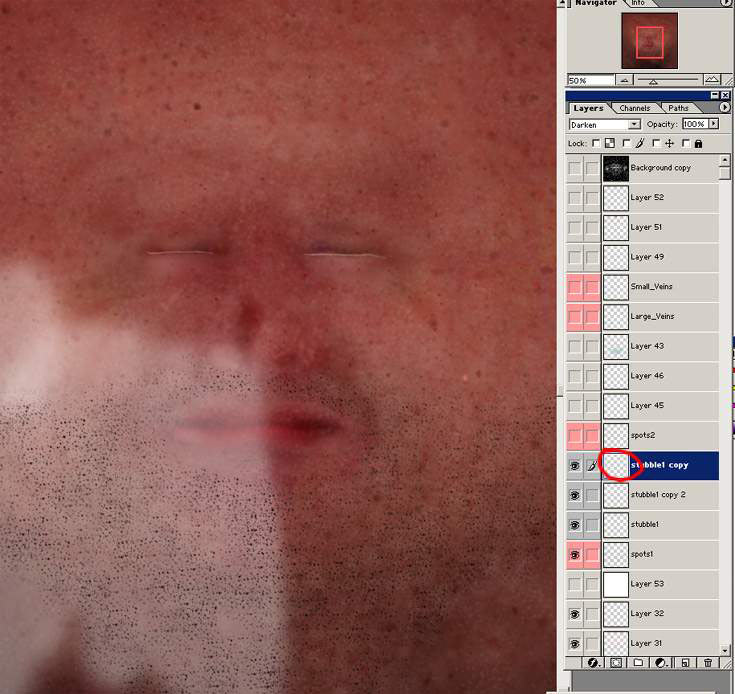
Next up there's
some stubble layers this was made just with a black
layer then diffused to make the dots then erased in
the areas I did not want them.
|
|
 |
I know, lets
add some more spots. :-)
|
|
| |
|
|