| HOME DOWNLOADS TUTORIALS CONTACT |
![]()
![]()
![]()
![]()
![]()
|
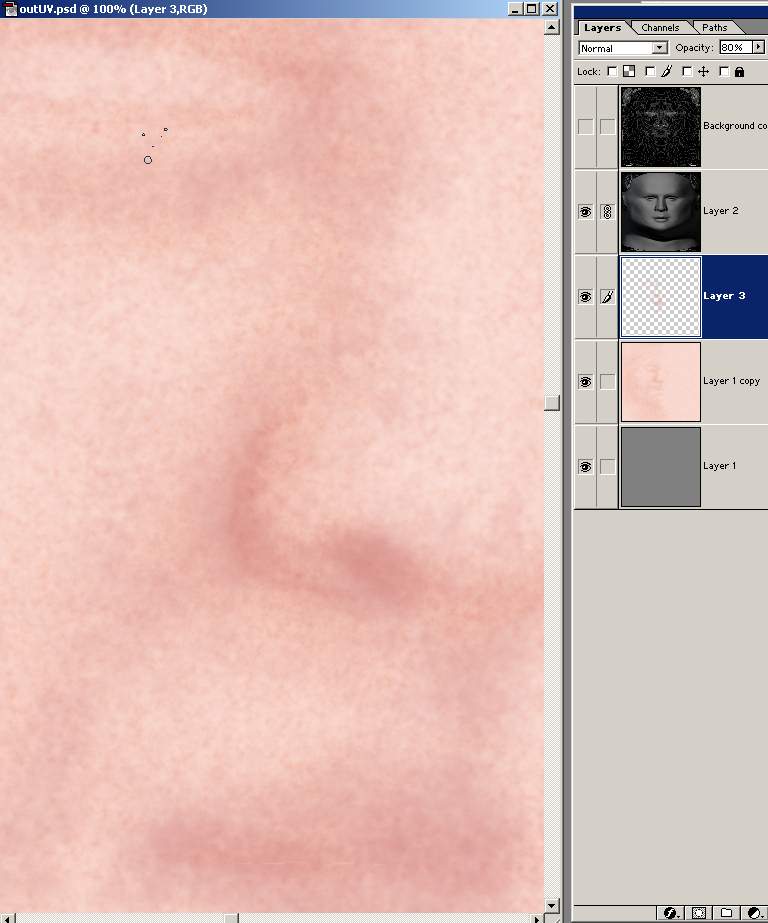
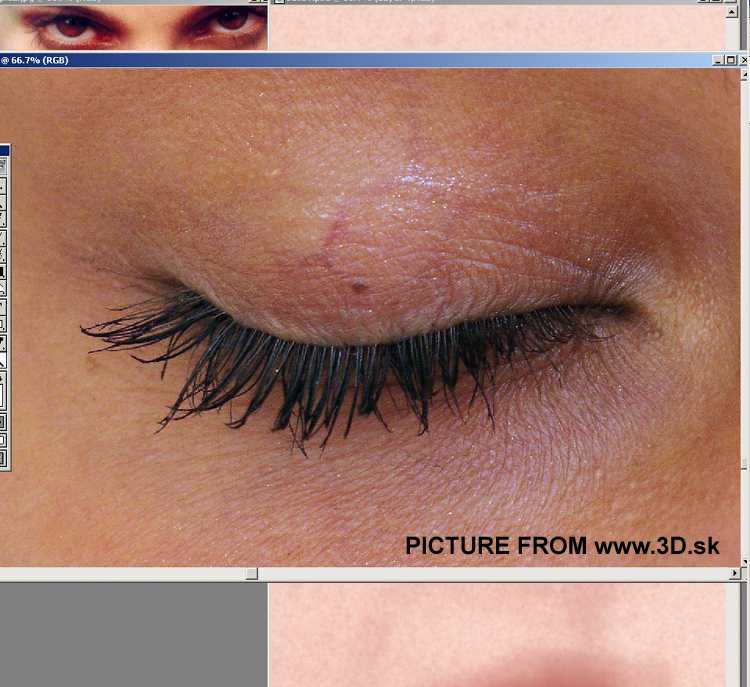
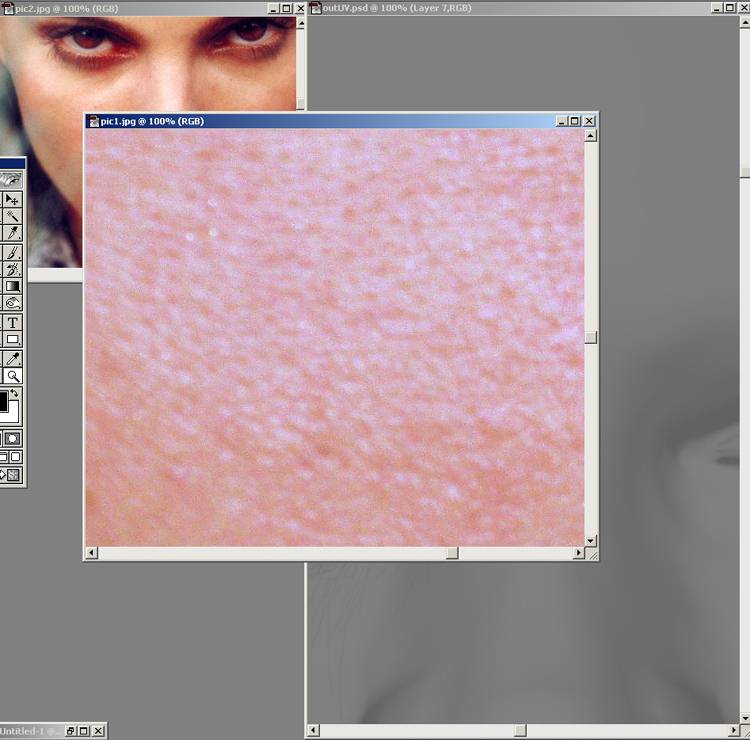
Now I'm going to quickly paint a few wrinkles I have not got much time so I'm not going to type much about the bump map. But I will paint a few wrinkles because I also use a few of the layers on the colour map as well. Look at the photo above which is from www.3d.sk. Look at all the fine wrinkles and details, also notice you can faintly see a few veins.
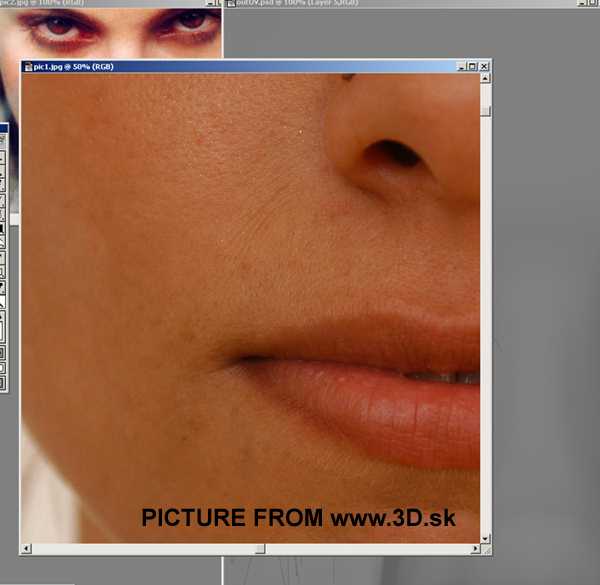
Another photo more fine wrinkle and marks
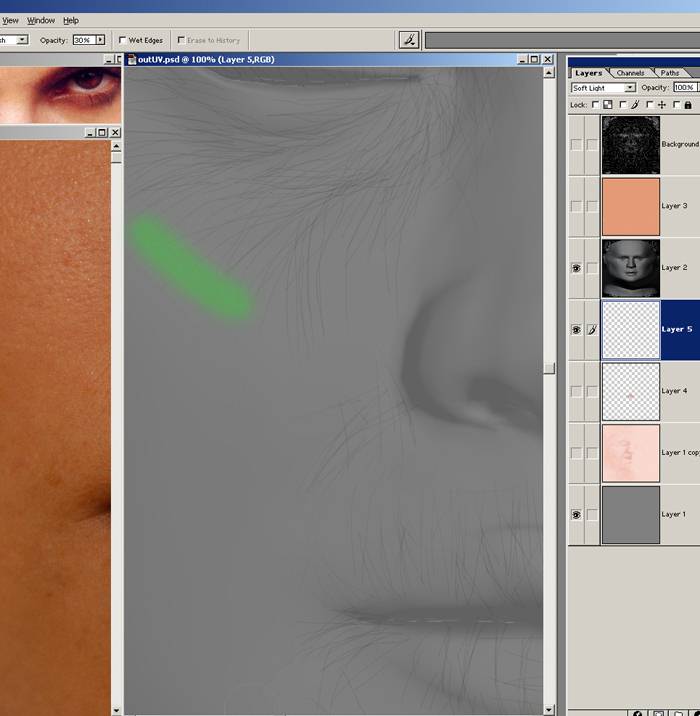
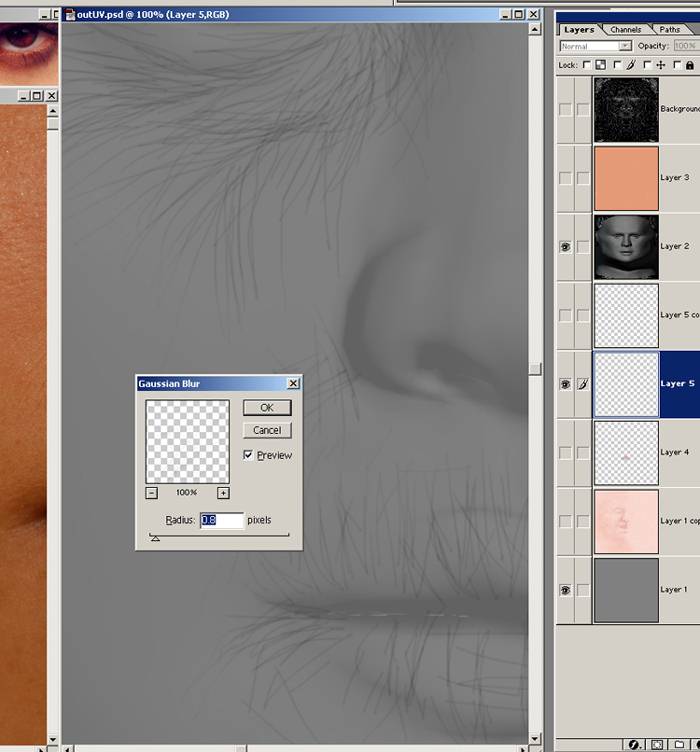
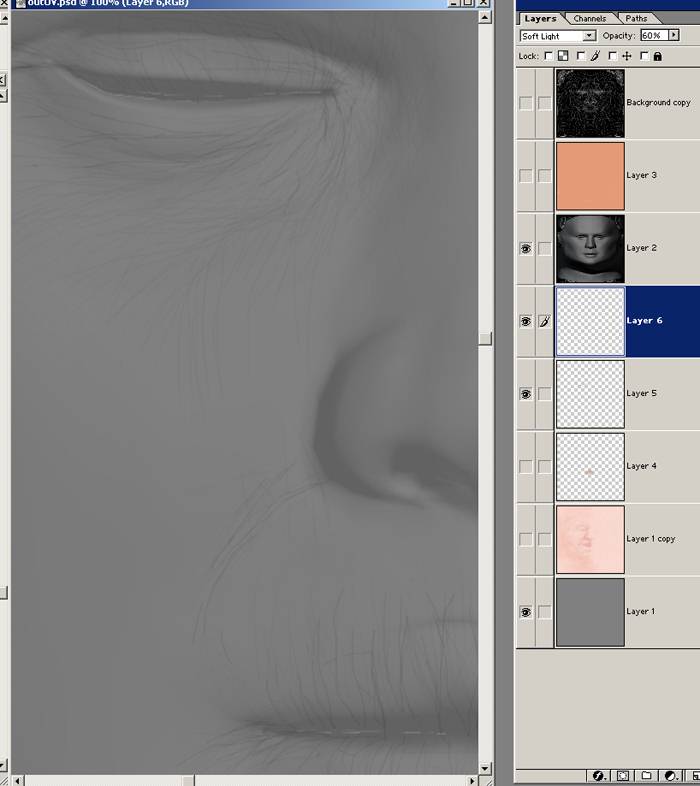
I've started quickly painting lots of fine wrinkles with the smallest brush. having a Wacom Tablet for this is very useful. But don't worry to much I'm just using a mouse your hardly see the wrinkles. Also with the eraser gently fade out some of the ends of the wrinkles, like where I marked with green.
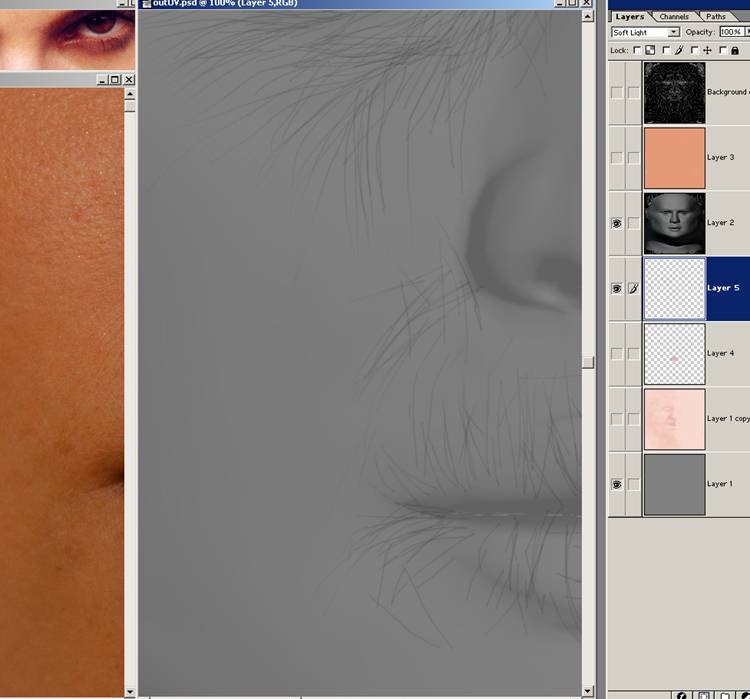
Now once your happy with the wrinkles. duplicate the wrinkles layer and add some blur of one of the layers. And blend the other layer on top of it
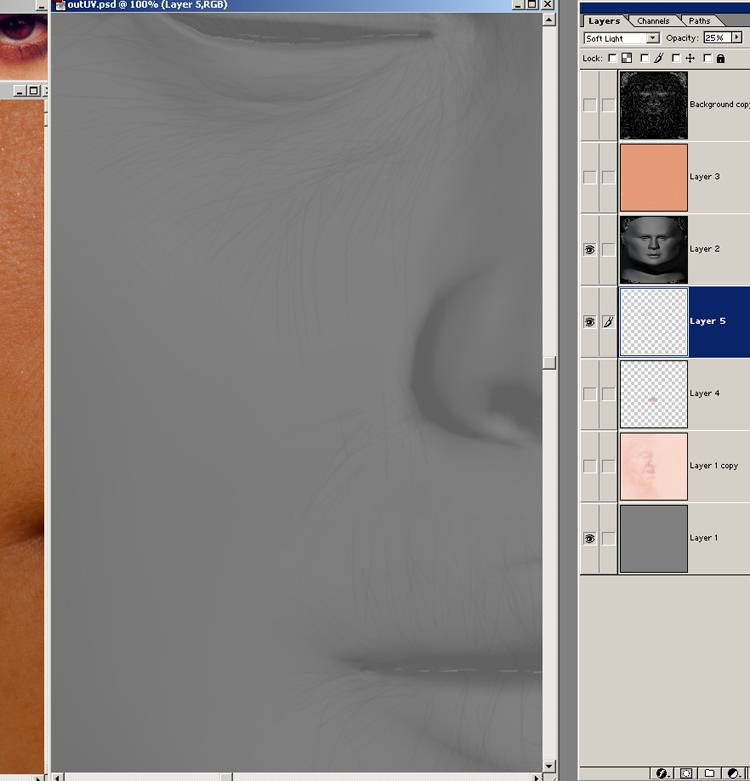
I usually use soft light blending mode
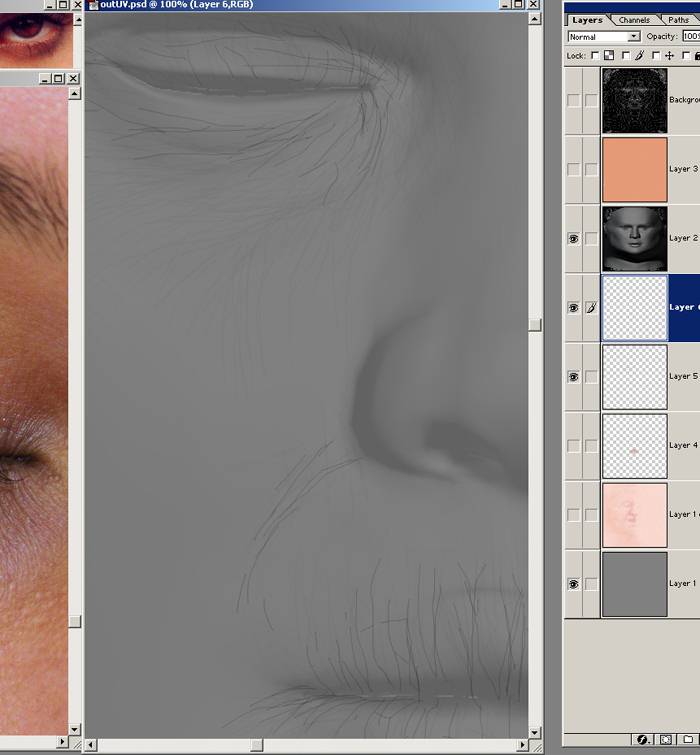
I'm painting another layer of wrinkles these ones will be a touch deeper
soft light again overlaying the other wrinkles
For the bump map you of course want various other marks and spots, theirs a few different ways of making them. using 2d and 3d textures in Maya to make some skin like bump maps then convert them to file textures. or Paint them of course then make some nice bump brushes. Or if your in a rush you could take a high detail photo with some bump details
|
|
|
![]()
![]()
![]()
![]()
![]()