| HOME DOWNLOADS TUTORIALS CONTACT |
![]()
![]()
![]()
![]()
![]()
|
Here's a quick Walk Through on painting a colour map. I will be painting a female's skin. unlike my last painting tut which was the skin of a old man. I find painting a young female skin probably the hardest, Because you have to be quite delicate with the skin tones, and things like the marks and blemishes trying to make a healthy looking attractive skin.
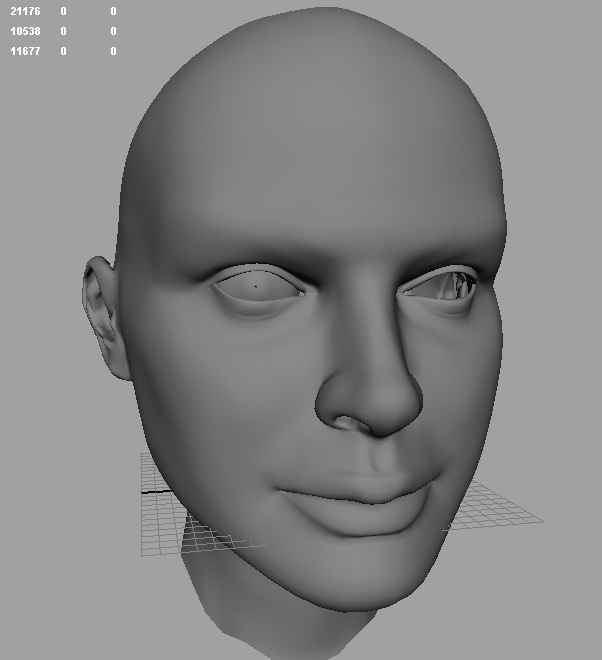
I've found an old head model which you are free to download to practise on. You can download it here. it's in OBJ format.
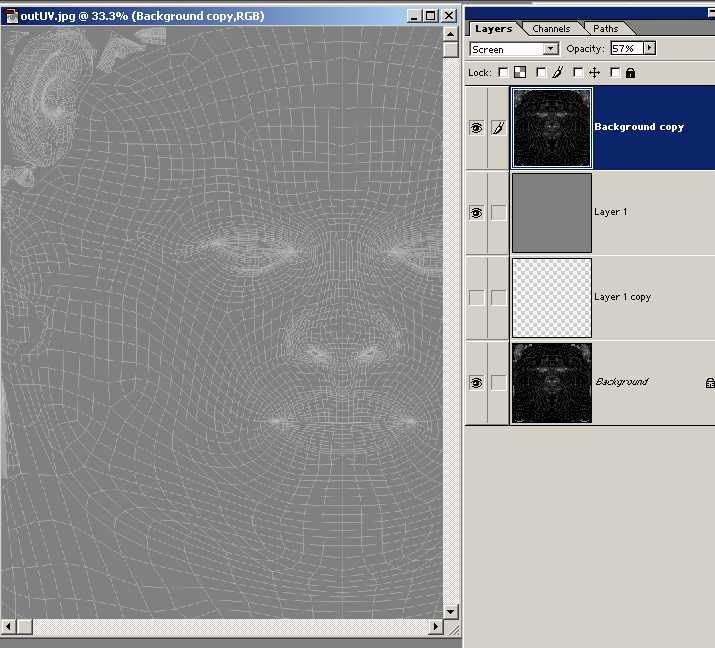
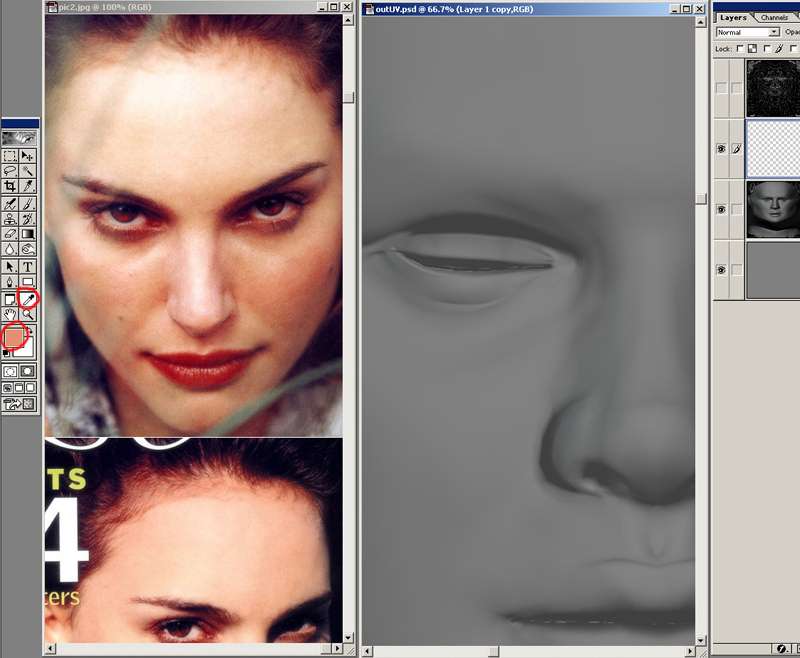
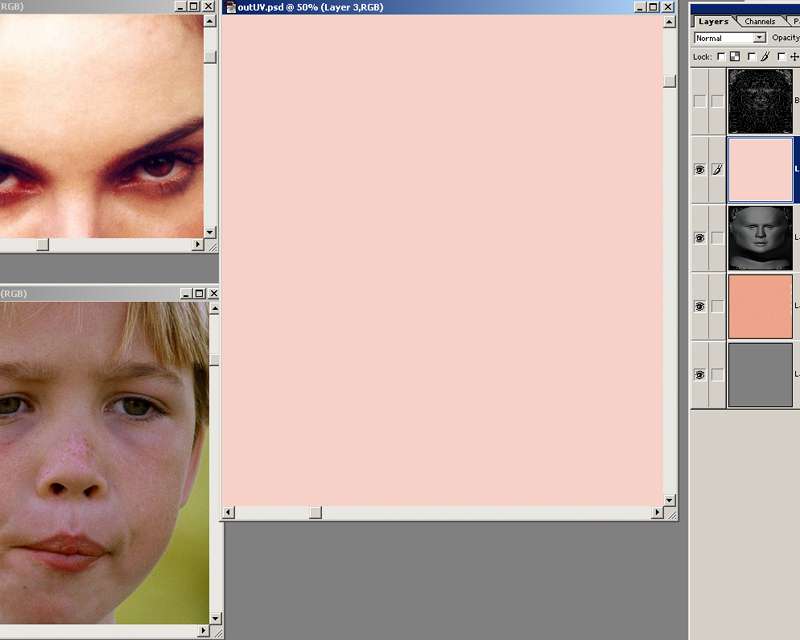
First I've taken a UV snapshot. Then opened it up in photoshop I've screened it over a 50% gray layer.
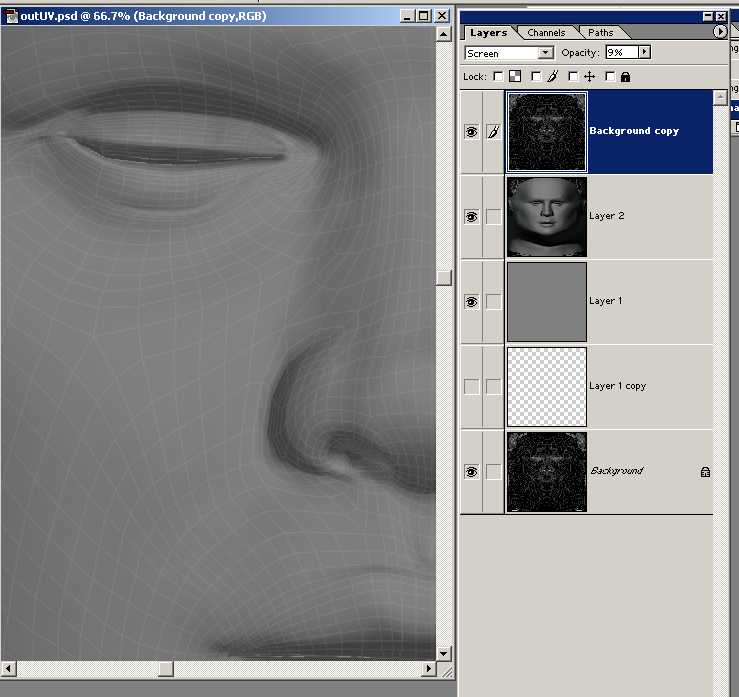
What you can also do is just bake some lighting on to a map, the lighting can be quite simple this just gives you an impression of the face which can help you in the painting, its over laid over the gray layer, and turn down the opacity so your can just faintly see it.
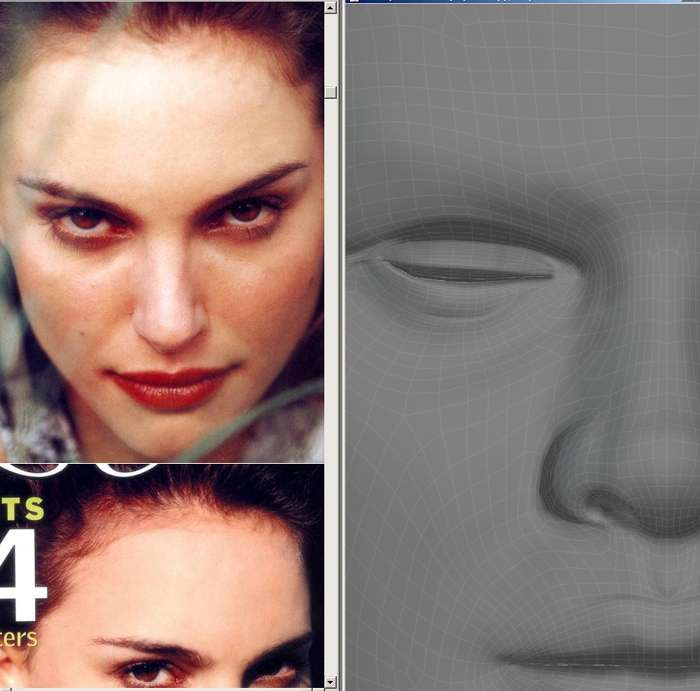
Right now you want some reference's this are just a few of the photos I'm using
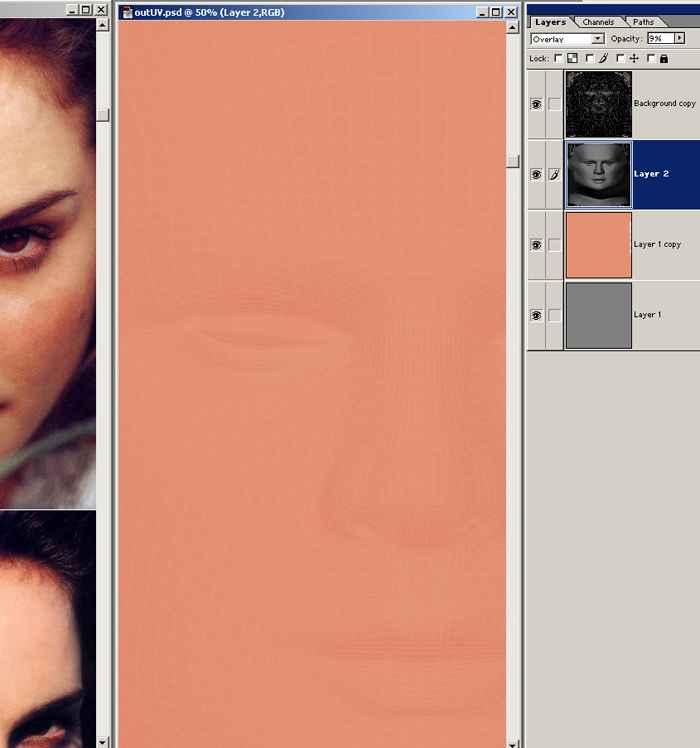
I've created a new blank layer, and using the colour sampler tool, I've picked a medium skin tone from the photo
I filled the layer with that colour
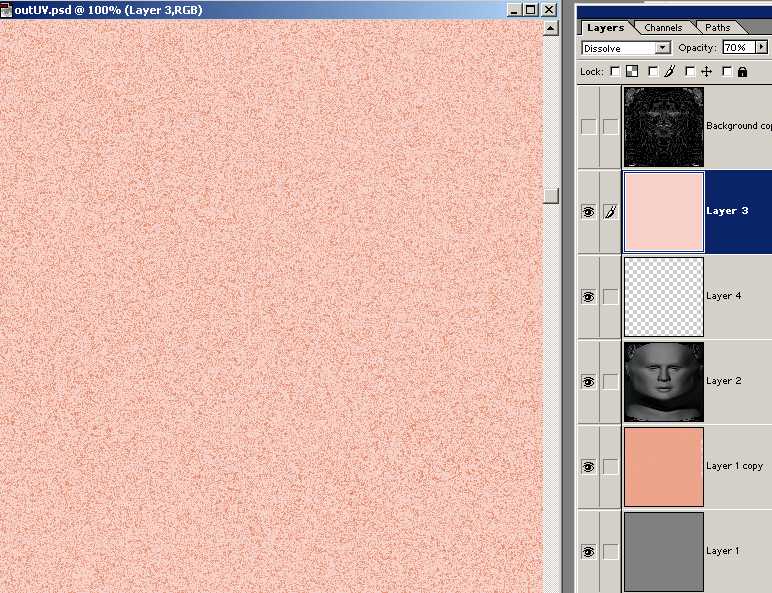
Then I have added another layer and picked a lighter skin tone from her face and filled the layer with that colour. What we want to do is build up lots of varying skin tones.
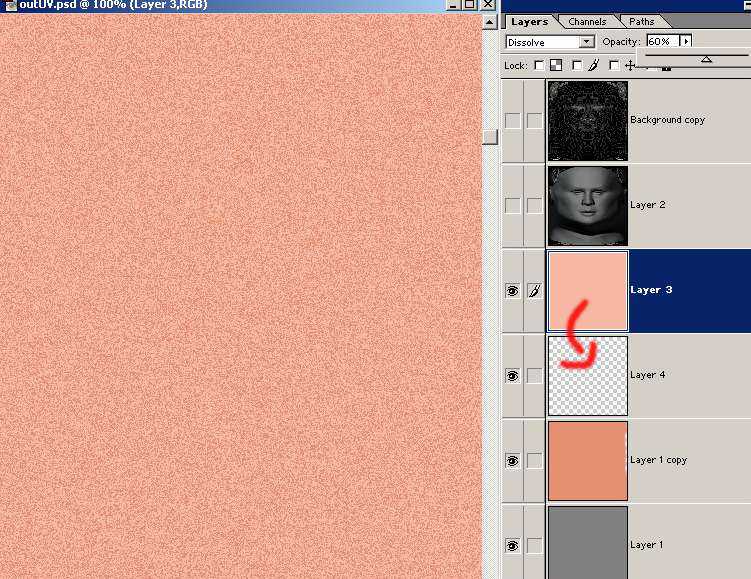
Next I have dissolved the top layer to 60% then created a another blank layer and merged layer 3 and 4 together. I can now create some gaussian blur on this layer, from the menu go to filter/blur/gaussian blur and add some blur about a radius of one. Now you can merge this layer down to the first skin tone layer, you might want to turn the opacity down a bit so is blends nicely.
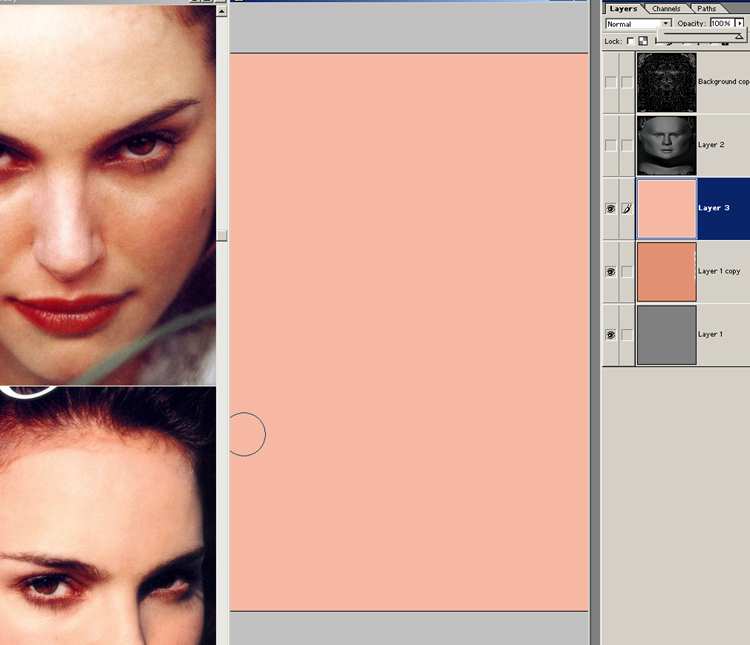
I've created another layer filled it with this skin tone.
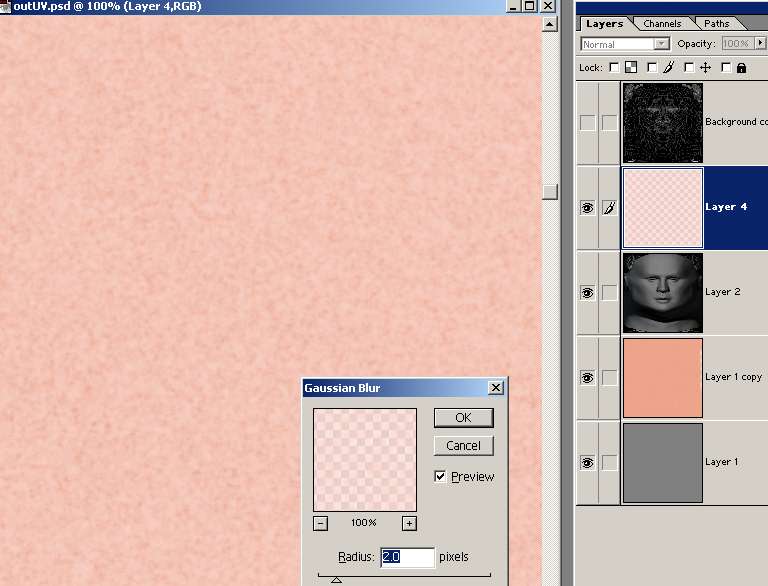
I have dissolved this layer to 70% then merged it down the a blank layer
then added some gaussian blur to the layer about 2.0 radius this time
|
|
|
![]()
![]()
![]()
![]()
![]()