 |
For the spec map I just used
what i've already painted i've just
by adding a Hue/Saturation layer to
fade out all the colours.
|
|
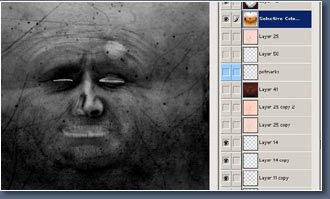 |
Notice i've use most of the
layers but left out some of the colour
ones.
|
|
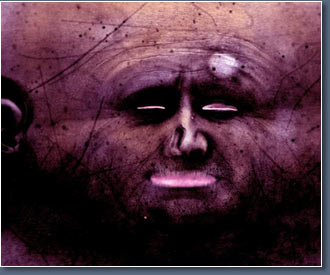 |
Next is the reflection map,
this is kind of like a spec map is it
brings nice colorful highlights in the
more reflective parts of the skin. notice
the eyelid and lips are the brightest
parts to give them a nice reflective
shine. this map does not really have
that much effect in this shader.
|
|
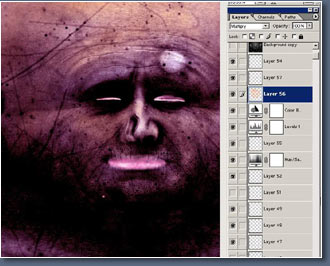 |
This map is very similar
to the spec i've just added a few more
layers, I used a Colour Balance Layer
for the purple tone and painted a few
more colour layers on top.
|
|
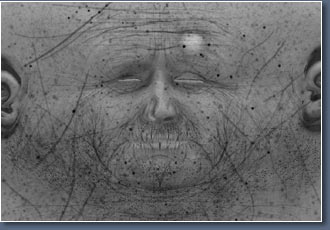 |
This is my diffuse map, not
really to much to say on this, just
trying to keep certain spots and marks
nice and dark.
|
|
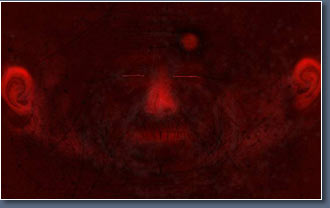 |
Well here's the translucence
map trying trying fake a little sub
surface scattering and get some redness
around the ears and a little around
the nose.
|
|
This map is turned down and
made darker in maya, noticed i've over
laid all the spot and bump detail keep
them nice and dark.
|
|
Well i guess that's it, I
hope you found my little texturing tut
usefull.
|
|
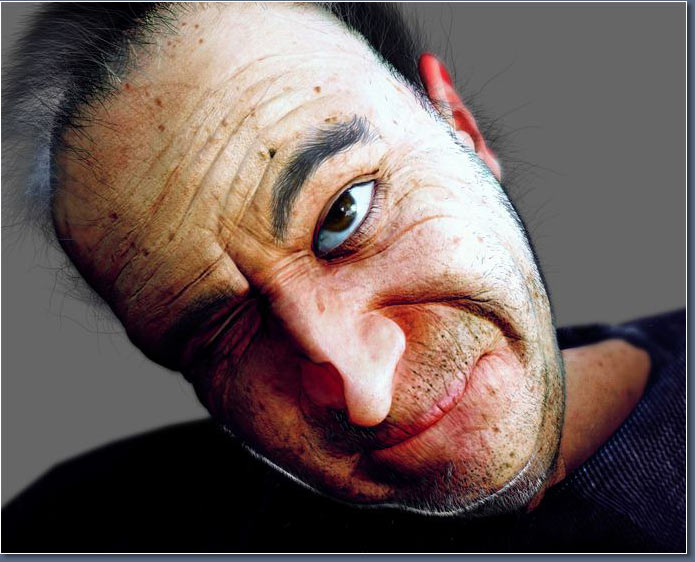
One final tip (see below)
images can always be tweaked and improved
if your not happy with them.
|
|
|
|
|
|
|
That's it, byeeeeeeeeee!
|
 |
| |
|
|