| HOME DOWNLOADS TUTORIALS CONTACT |
|
hello, here's a quick tut, this one will show how to do a quick skin bind that will look and deform quite good, while not getting to much into skin binding Which for a beginner can be quite hard to get the hang of, as its needs quite a lot of practise, like knowing when to hold and unhold weights, it can become a very tedious process. This setup shows how to quickly rig a mesh, just using basic shapes Were be using parts of the original mesh. to warp deform the full mesh. This breaks up the mesh into sections and makes it easier to bind. i made a tut like this years ago, but warp deform performs a lot faster these days so is a much more useable tool.
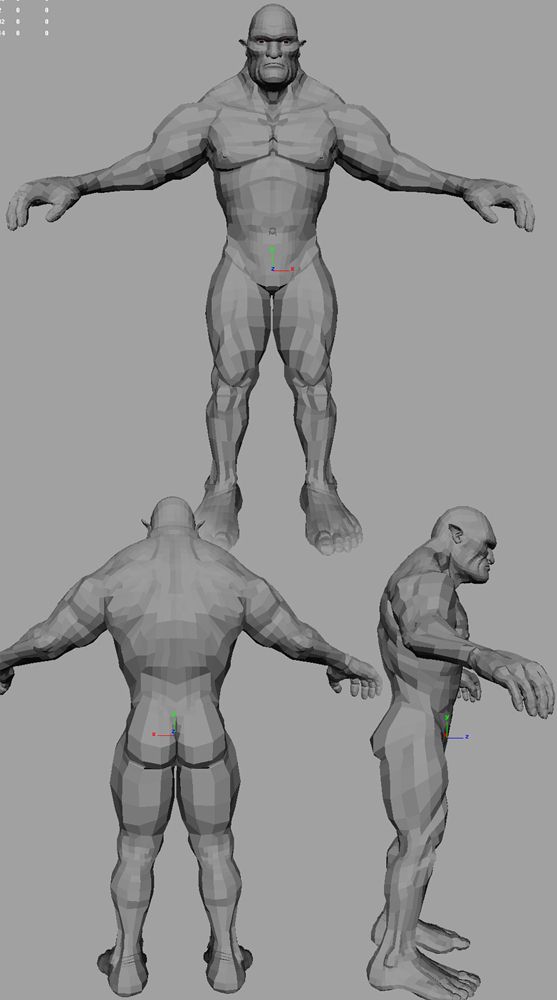
Here's the mesh I'll be using, the mesh count is under 10000 faces so feedback will still be really fast with warp deform The first thing to is dupicate the mesh and hide the original.
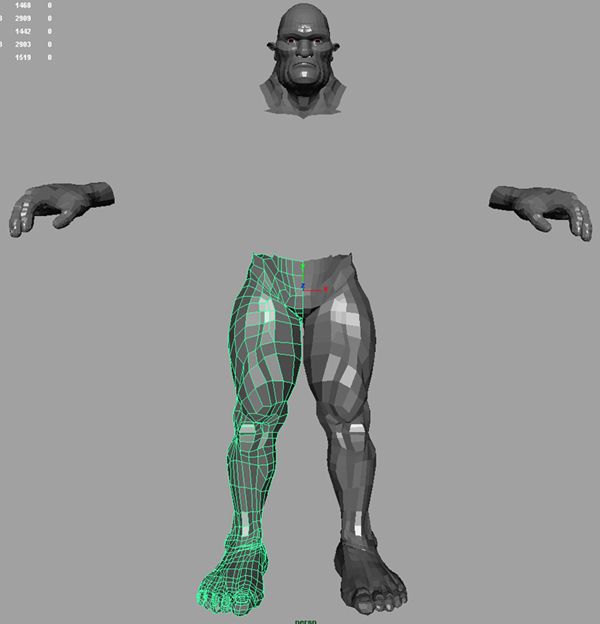
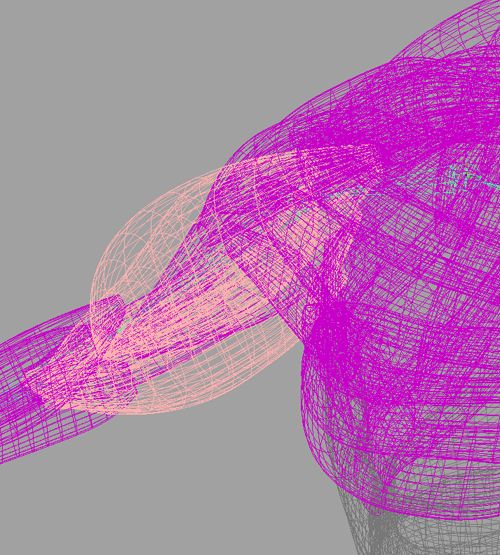
I've broken the mesh up in to separate pieces apart from the body for which I will be using nurb surfaces for muscle shapes you could of course use the body mesh instead.
The nurbs shapes should fill the body closely. I will just be skin binding the Muscle Bone shapes shapes to the rig, but of course their's quite a few muscle plug-ins around these days to use instead I've included a scene with my nurb shapes so you see their very simple. WarpMesh.zip maya 5.0 and up if you find this way really works for you. it's worth spending time building a better base muscle and bone setup. that you could use on other models
Next you need to group all your warp deform pieces.
Now I'll
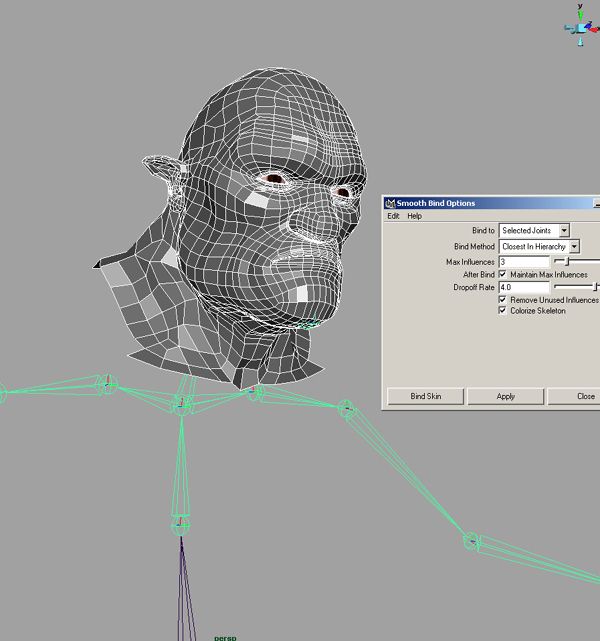
start binding the pieces to selected joints in the rig Another good thing about binding this way. is if you have lots of face blend shapes you only need to make them for the face wrap mesh not the full mesh.
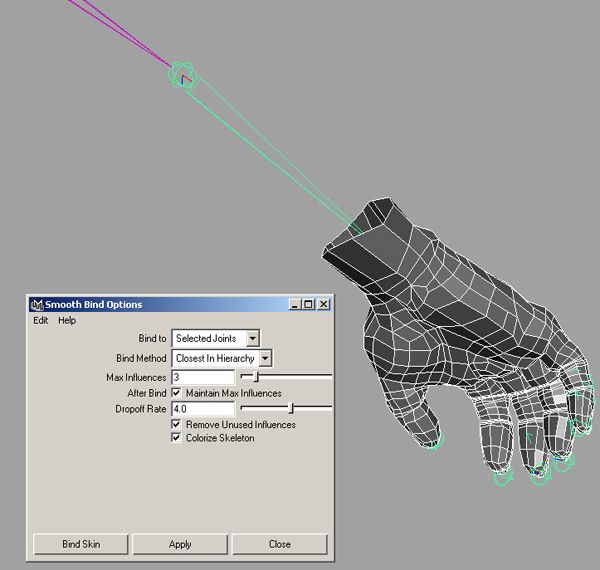
For the hand of course select all joints in the hand and lower arm.
|
|
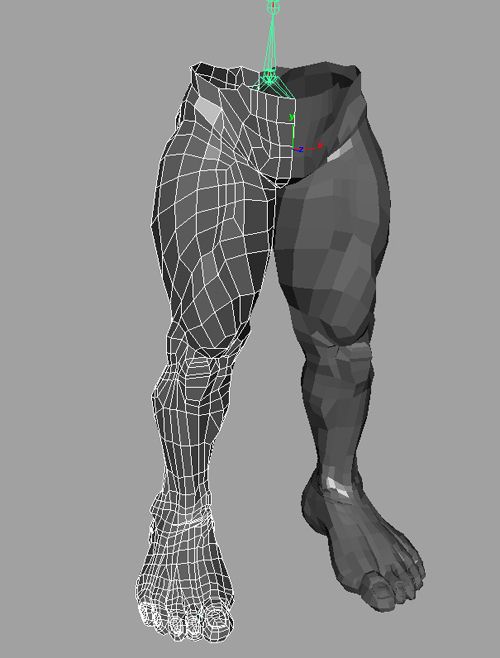
Now the legs, you could keep the legs one whole object , but I've split them up, getting the area between the legs to deform right is the only problem selecting the hip joint on the other side might help. then just needs a little skin weighting.
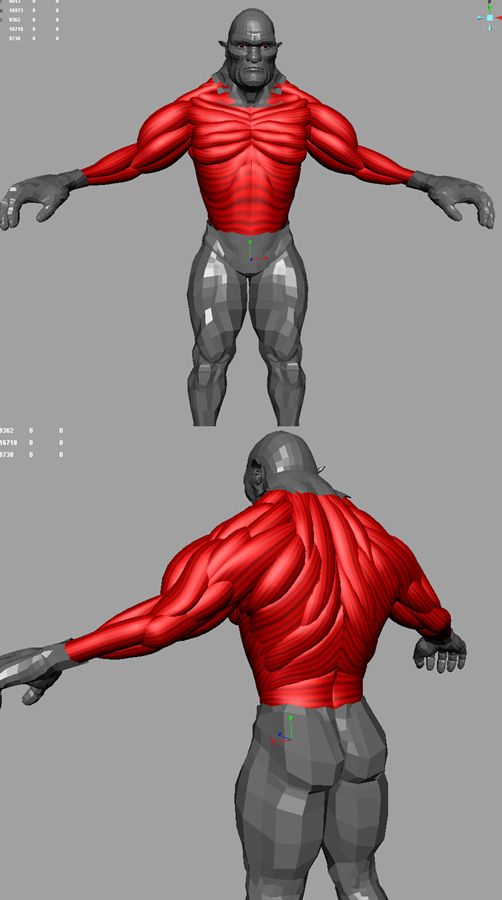
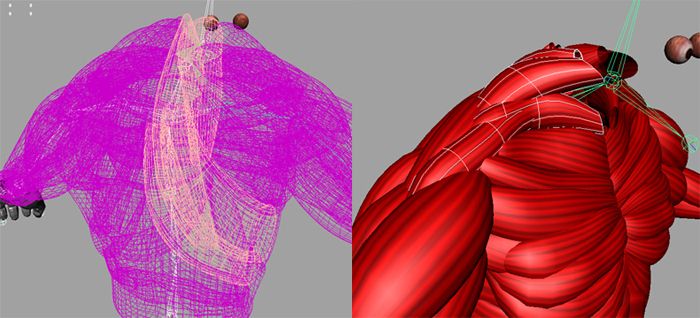
Now for the muscle shapes, were just be binding them to their closest joints like the stomach shapes will be binded to the lowback joint, back joint, and hips
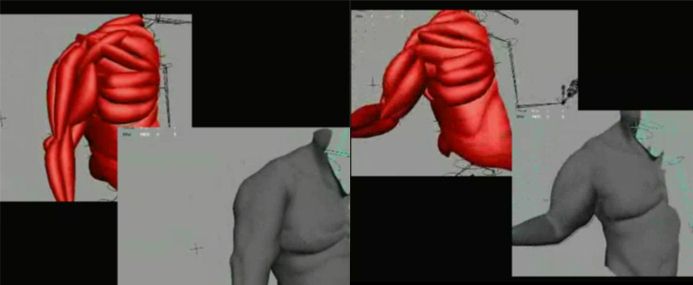
arm bicep shapes, binding to arm and shoulder joints of course . things like blend shapes can be added for muscle bulge. or simple jiggle deformers
Neck and back muscle shapes are binded to different joints from the back joint and up to shoulder and neck.
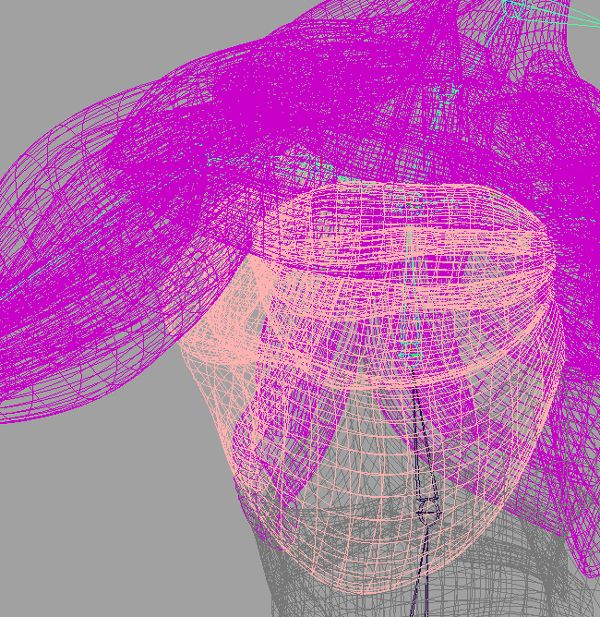
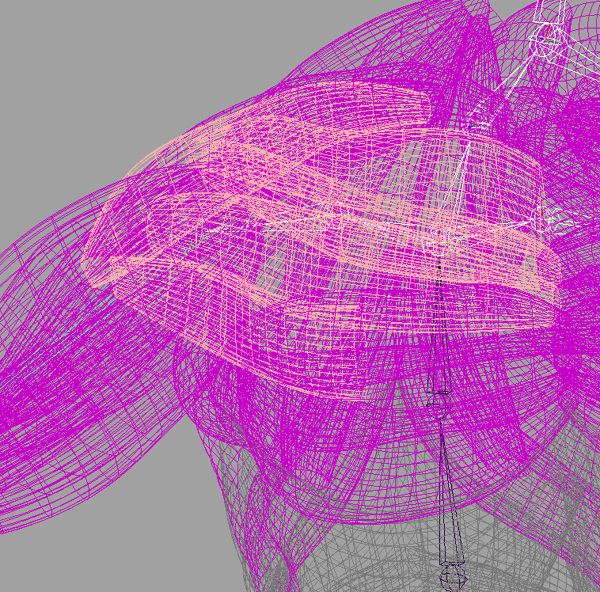
For the breast area I'm not binding to any of the arm joints. you could but would probably have to paint some of the weights
These muscle shapes above the breast should be binded to the arm and well. when the arm comes down it should deform well without any tweaking.
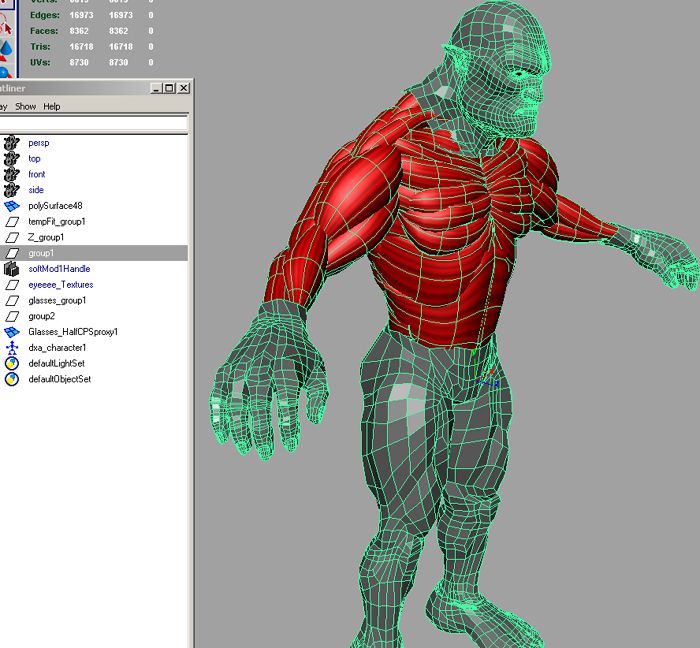
That's the wrap mesh all binded, here's a clip of the wrap mesh moving WrapMesh.mov 2.3mb right click save Target as
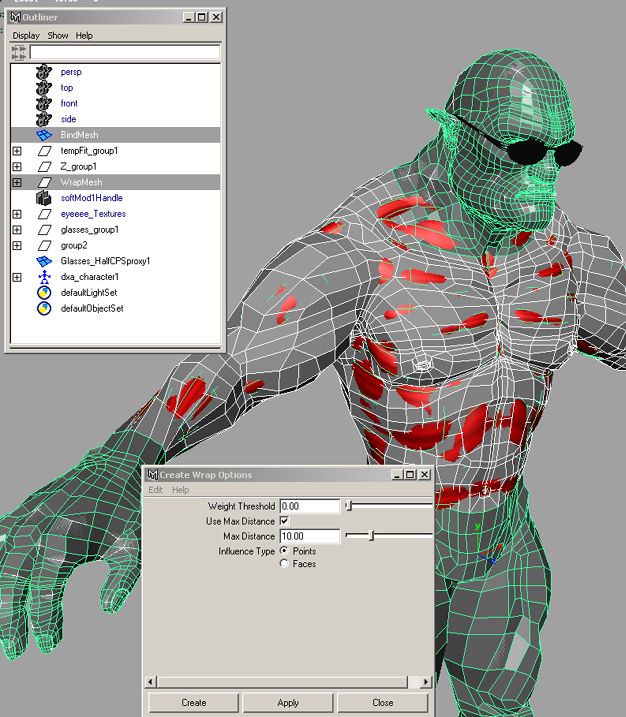
Now we just have to warp the full mesh First select the bindmesh then second the warp group. then in animation menu select deform create wrap. here's my settings. The use max distance setting is important, keep it as low as possible as it will improve performance and memory usage. I've had
to use a max distance of 11 for mine because of the nurb shapes
if we had used the body mesh instead. we could of used a max
distance of as low as 0.01
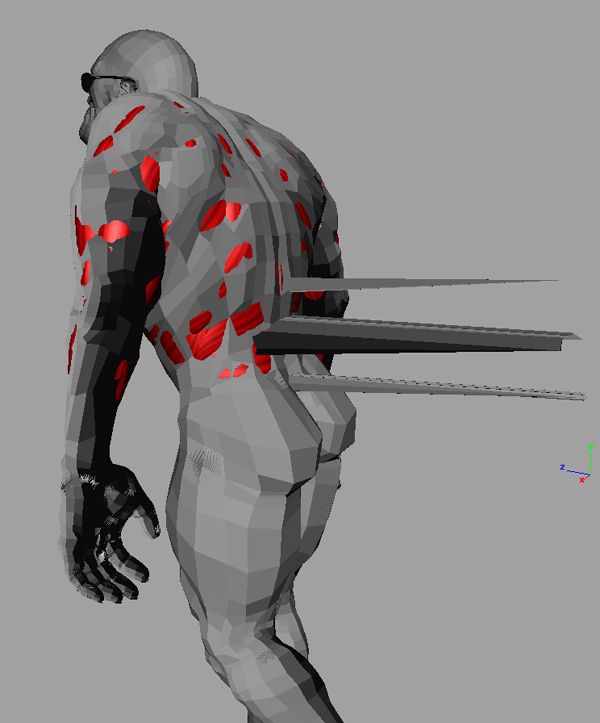
Your soon see if your max distance setting is not high enough as you can see here. if you move the rig from the bind pose it will leave some points behind this was with max distance of 6. you have a choice what to do, go back and edit that area so its closer. or raise the setting I used a final setting of 11.
warp deform is a lot faster then it use to be. ;-)
here's a few clips of the binded mesh BindTest.mov 4.0mb right click save
BodyTest.mov 2.7mb right click save
and that's
its hope someone finds it useful.
|
|
|