| |
Creating A Velvet Shader
Introduction
Hello, this is a
tutorial on how to create a velvet shader within maya,
although this shader can be primarily used to simulate velvet,
it also has other use's too, which we will go into
later. This tutorial also introduces the user to the
Sampler Info node, of which we will be utilising the
facing ratio, again, more later. I've created
this simple model, you can create your own model, it's
similar to a cushion. 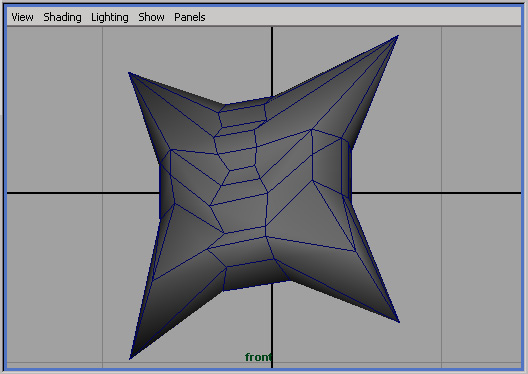
In order for us to see things a bit more clearly that our end
result will be working I have added some small additions such
as wrinkles that will hopefully gather light like velvet
would, we will see this happening later. For now,
depending on you preference, smooth your object using either
Modify > Convert > Polygons To Subdiv and then
press 3 on the keyboard for smooth display, or Polygons
> Smooth (This will probably be defaulted at smoothing
level 1, so apply it again to ensure a nice smooth looking
object), you should now have something like this, see below :
-
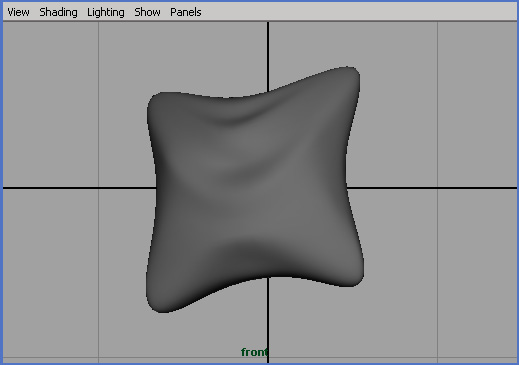
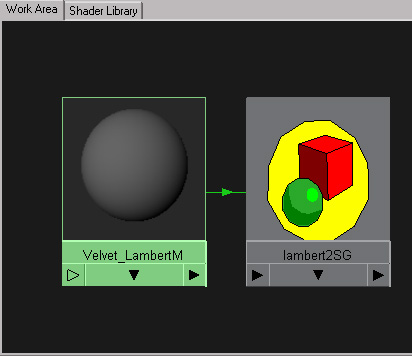
Next step, now open up your
Hypershade, and create a new Lambert material, I
normally like to name my materials, so I've named it
Velvet_LambertM, as seen below : -
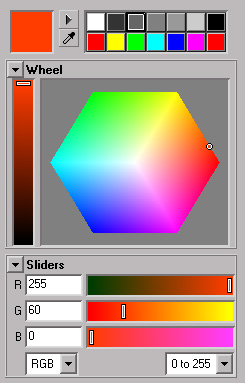
Red is usually a
colour I associate velvet with, so open up your new materials
options and click on the colour box and then change the colour
to the following red, RGB = R 255, G 60,
B 0 : -
Now, just so we can
compare an original and a working version of our velvet
shader, let's create another 'cushion', and move it across
slightly so we can see it better, select your original object,
press CTRL + D to duplicate it and then move it
slightly to you right as your looking at the screen, see below
: -
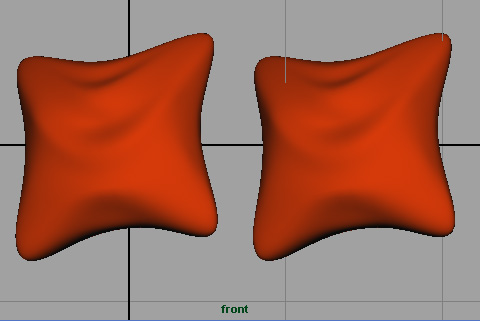
During this tutorial,
I will be just using the FRONT view for doing renders,
the original object I built has already been placed in such a
way that it will catch the light quite nicely, so for now, do
a quick test render, you should get something like this
:-
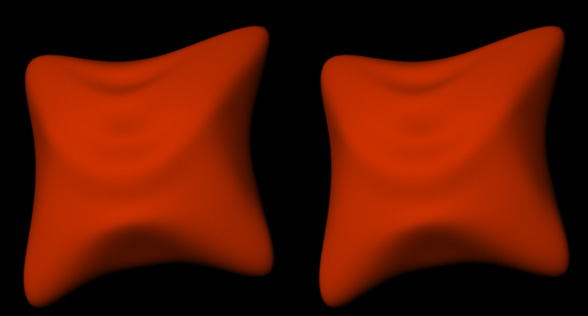
Ok, that's fine for
now, now we need to assign a new shader to the second cushion,
the one that we will actually be working on to create the
velvet look, open up your Hypershade, select your
Velvet_LambertM shader, then outside of the box, right
click and select EDIT > DUPLICATE > SHADING
NETWORK, you should now have a second material called,
Velvet_LambertM1 : -
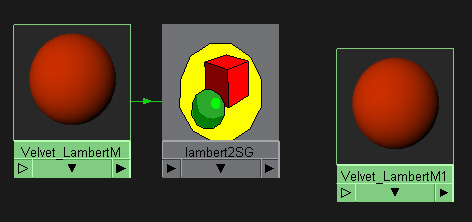
Let's get straight
into the rest now, open up your new material, and in it's
options, click on the Incandescence options box : -
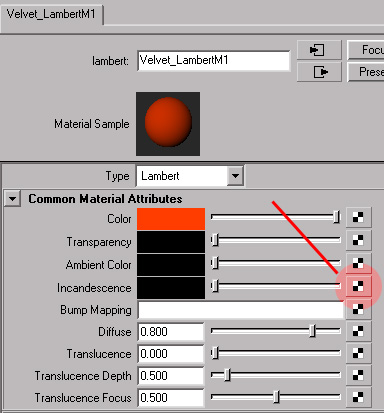
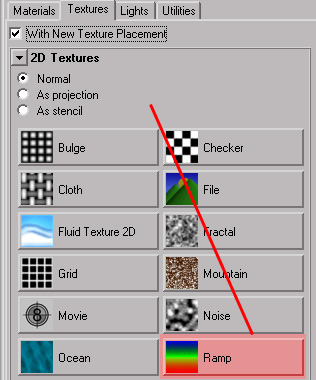
Once you've done
that, within your 2D Textures area, select the
RAMP node : -
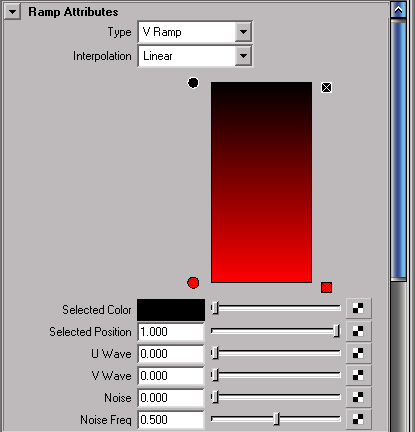
Edit the ramp so that
it look like this, you select the boxes on the right side to
delete a colour entry list and you select the circles on the
left side to create one or edit it's current colour, so delete
the middle ramp colour entry and then edit the colours :
-
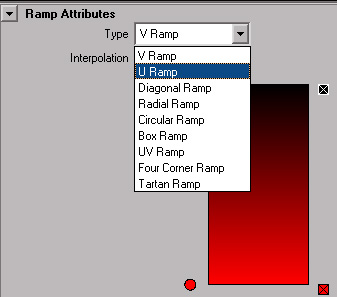
Next, change the Type
of Ramp to a U Ramp, this option essentially makes sure
our ramp runs on the U part of the UV space of our object :
-
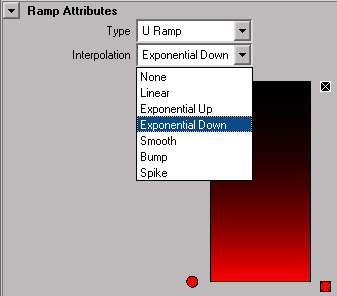
Next, change the
interpolation to Exponential Down, this option
essentially favours the colour at the top of the ramp towards
the bottom, i.e. the black will show more than the red
in this current ramp : -
Now, to ensure a nice
falloff for our velvet shader, we need to set up a much
lighter colour of our red, I've made this version which is
slightly off red, and kind of reaching into the pinks and
oranges, obviously this would need to change if your object
was a different colour, i.e blue velvet would require a nice
sky blue cyan type colour for it's falloff, notice I have also
moved the bottom colour entry list up slightly, you do the
same : -
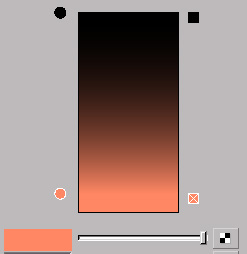
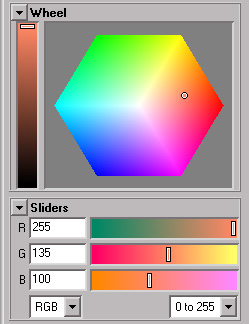
The colours I used
for my falloff were, RGB = R 255, G 135,
B 100 : -
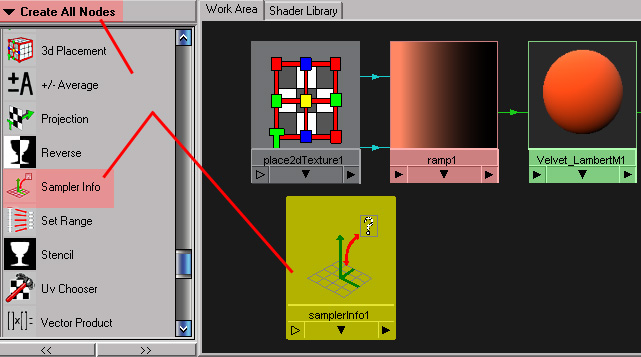
Now the most
important bit of the shader, the Sampler Info node, so
again, open up your Hypershade, then scroll down to the
utilities tab or alternatively do what I do and change where
it says 'CREATE MATERIAL' to 'CREATE ALL NODES',
and then just scroll down to where the sampler info node is,
now middle mouse drag the sampler info node onto you work area
as below : -
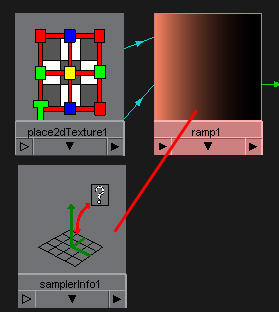
Then middle mouse
drag the sampler info node directly on top of the ramp as
shown : -
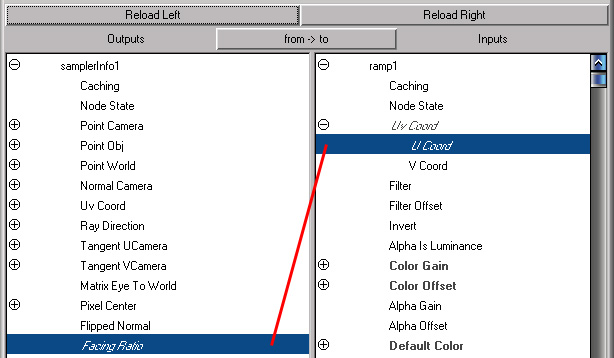
The Connection
Editor should now open up automatically, the sampler info
node will be on the left and the ramp will be on the right,
find the facing ratio within the sampler info options (the
facing ratio is calculated between the surface normals and the
viewing angle) : -
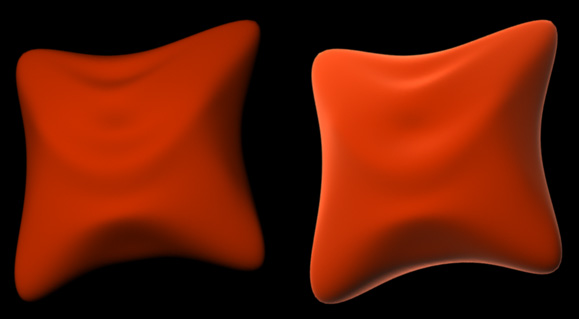
Now, finally, do
another a test render from the Front View, you should now have
something like the figure below, which looks very nice and
simulates a good looking soft velvety look, which is what we
were trying to achieve : -
You can download the
final scene file here, which includes the velvet shader :
-
Final
Scene File (Maya 4.5) - As Seen Above (Zip File -
42kb)
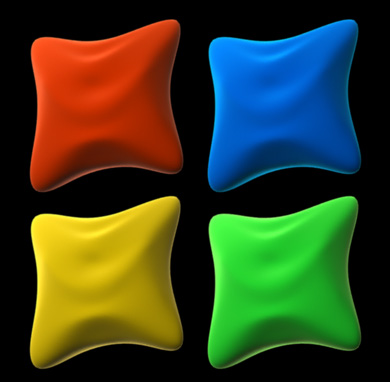
As you can see in
these other examples, you do do any colours you wish, as long
as you follow the rule of making sure you change the second
colour entry in the ramp to match the colour you are creating
a velvet shader for, for people who are wanting to take this
further, you can add extra things like a very fine procedural
bump to catch the light even more and look even more like
velvet, it's up to you to experiment. I sometime use
this type of shader for lot's of everyday objects, clothing,
skin and cartoony looking objects, as it's just a nice shader
in general, if you experiment further with the sampler info
node you can also create effects like x-rays and electron
microscope imagery. Well, that's it for now.
Thanks for reading and I
hope you find this tutorial useful.
|
|